Recipes from the Dreams of Imma Tataranni
Orecchiette Pasta with Turnip Greens — Pasta con Cima di Rapa
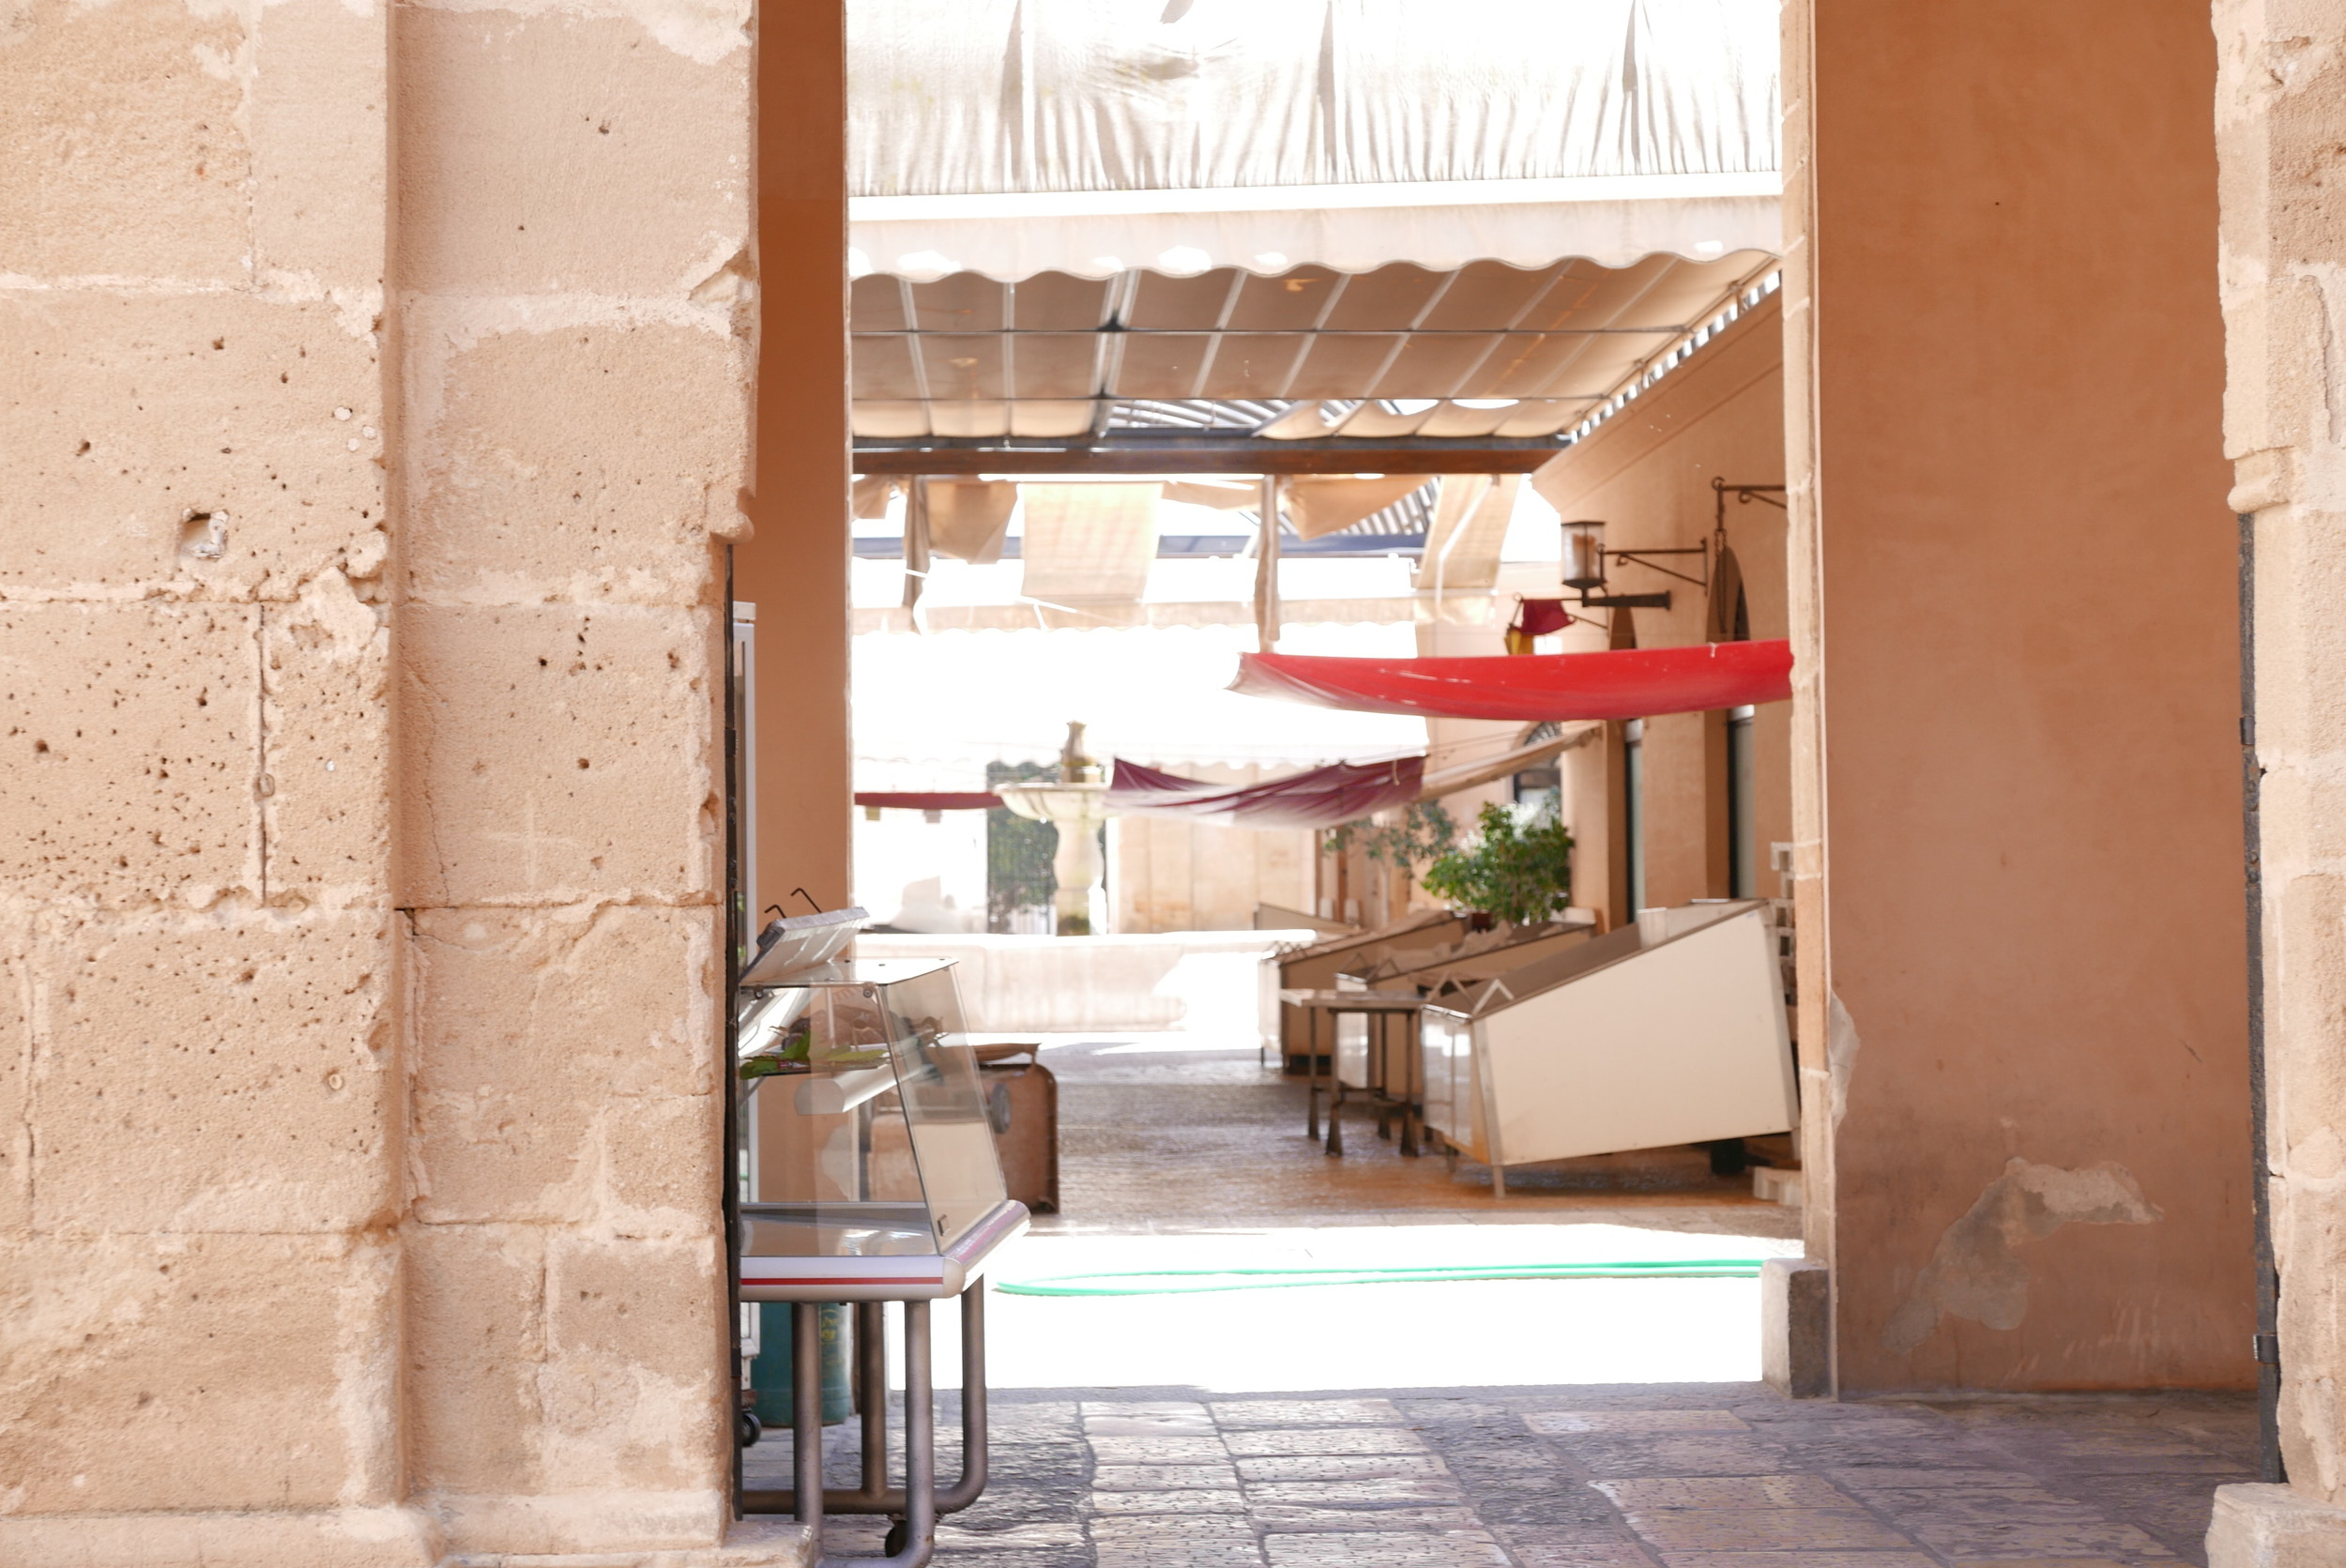
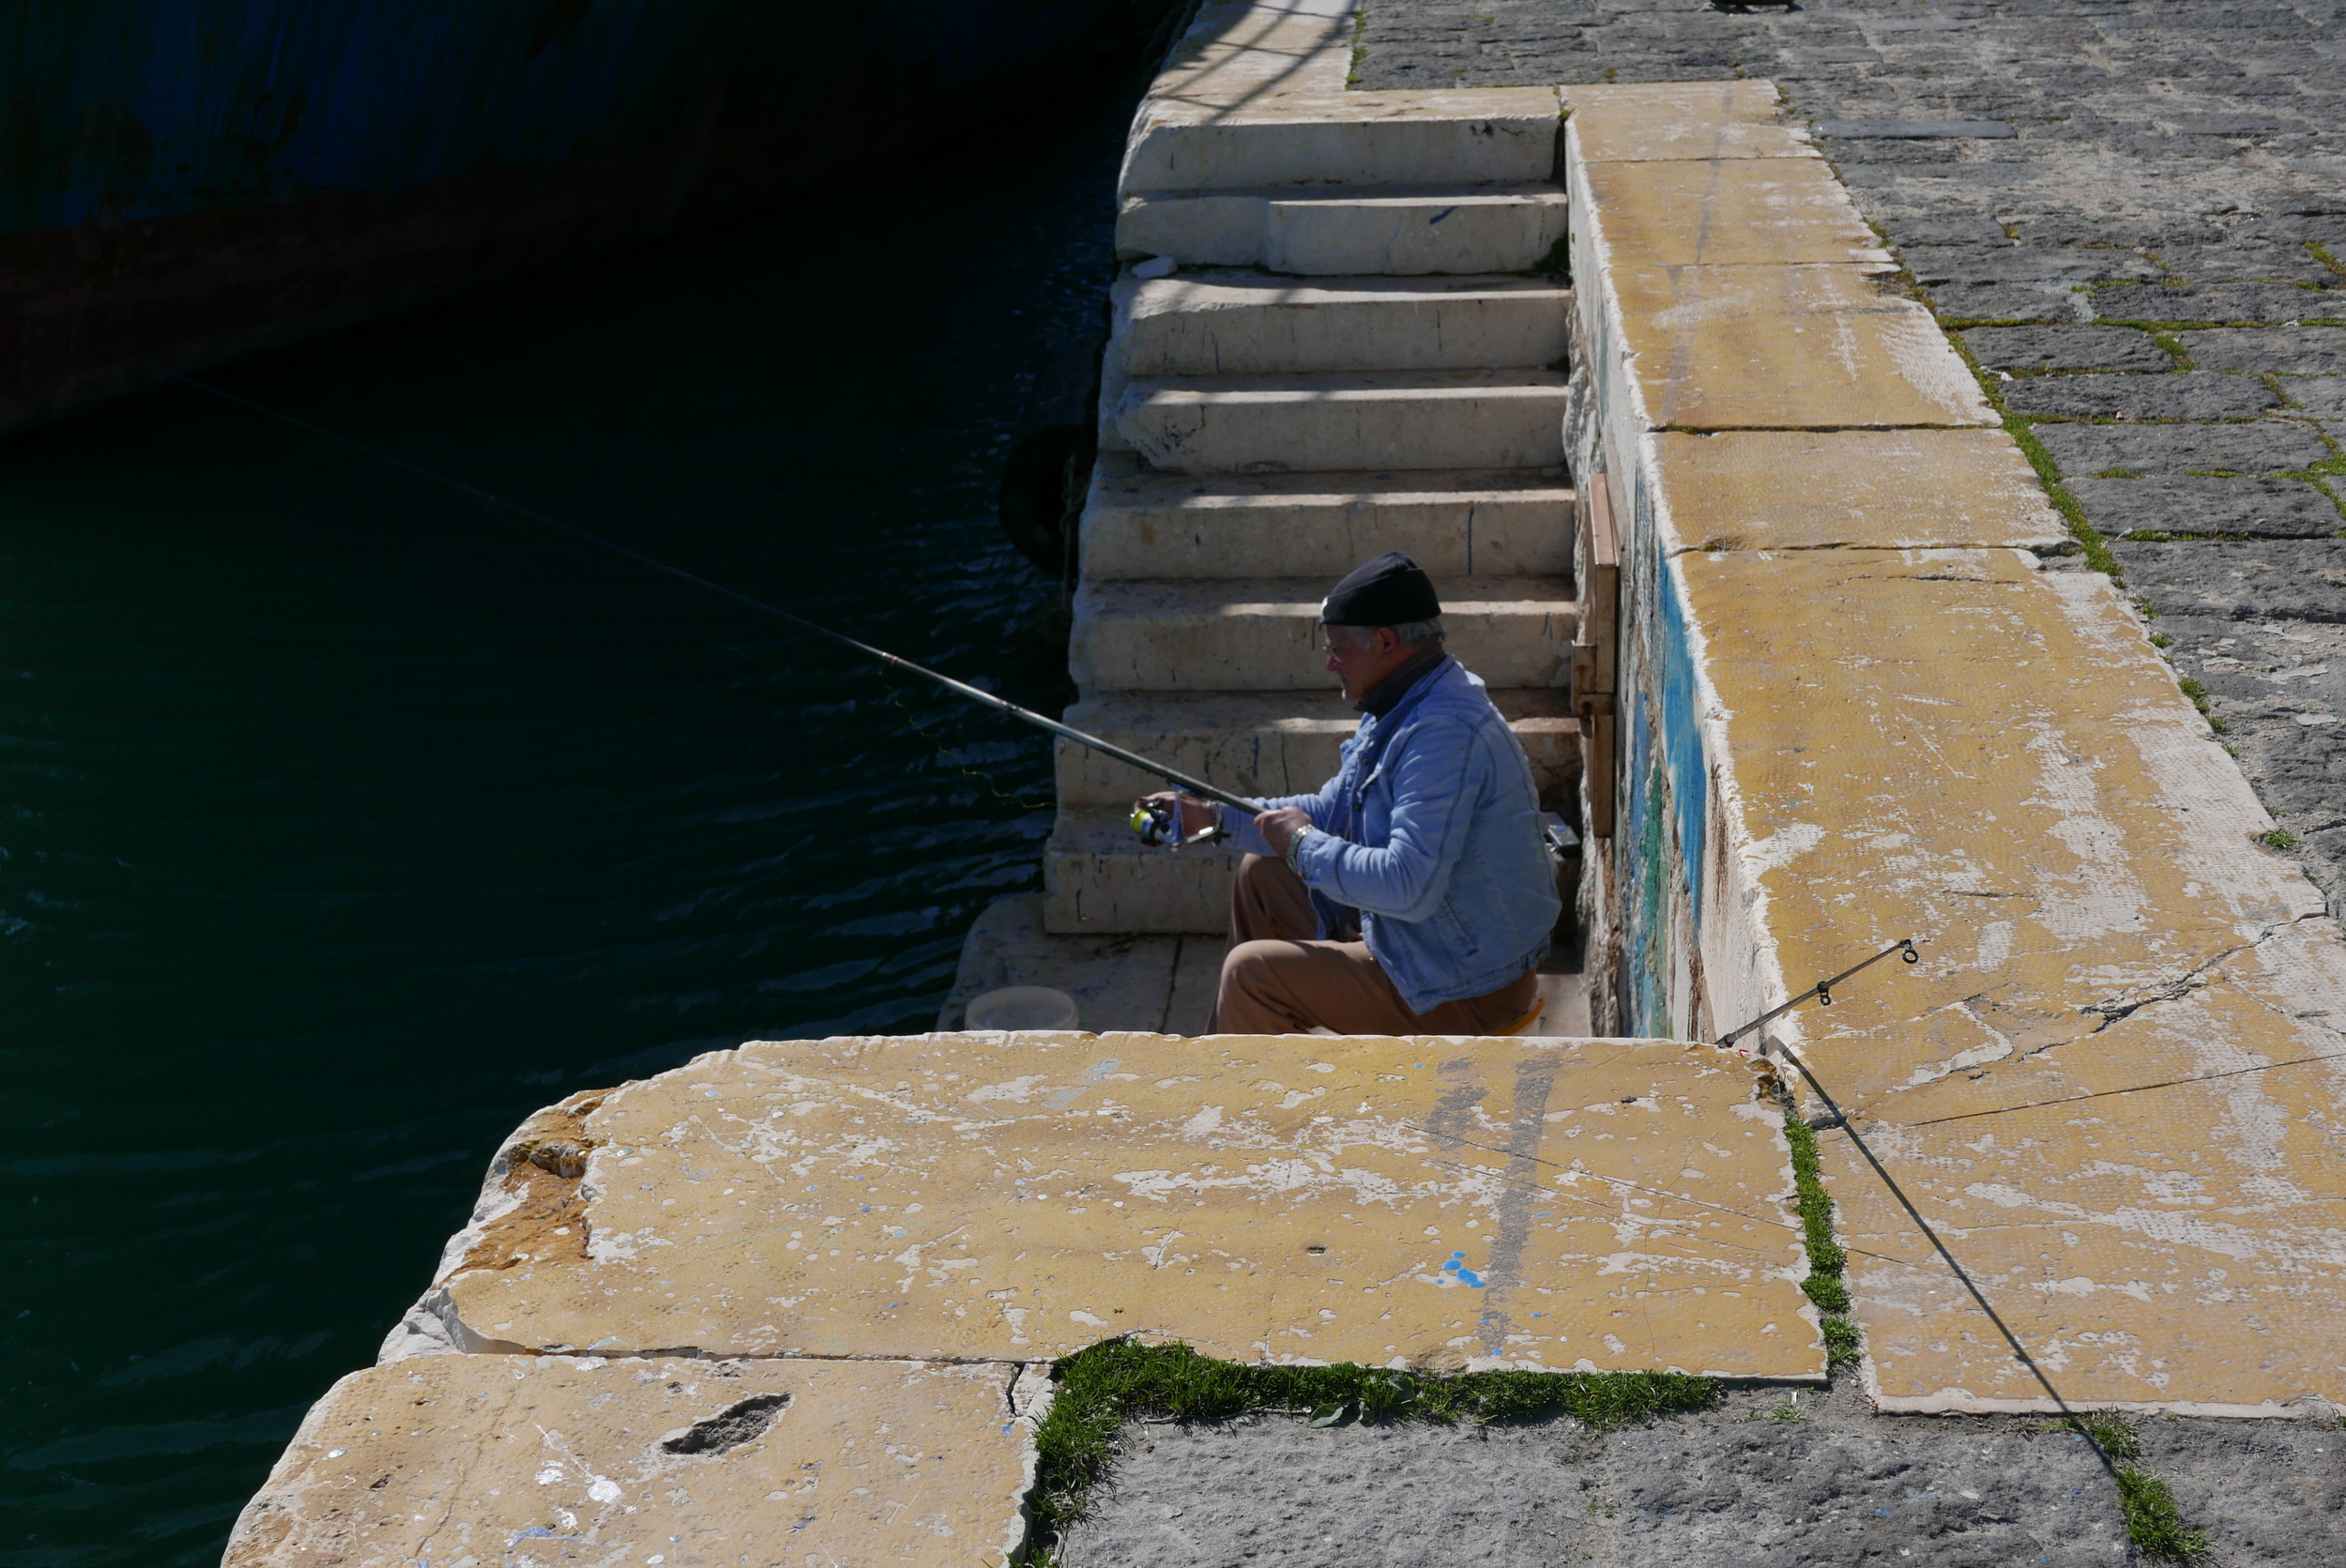
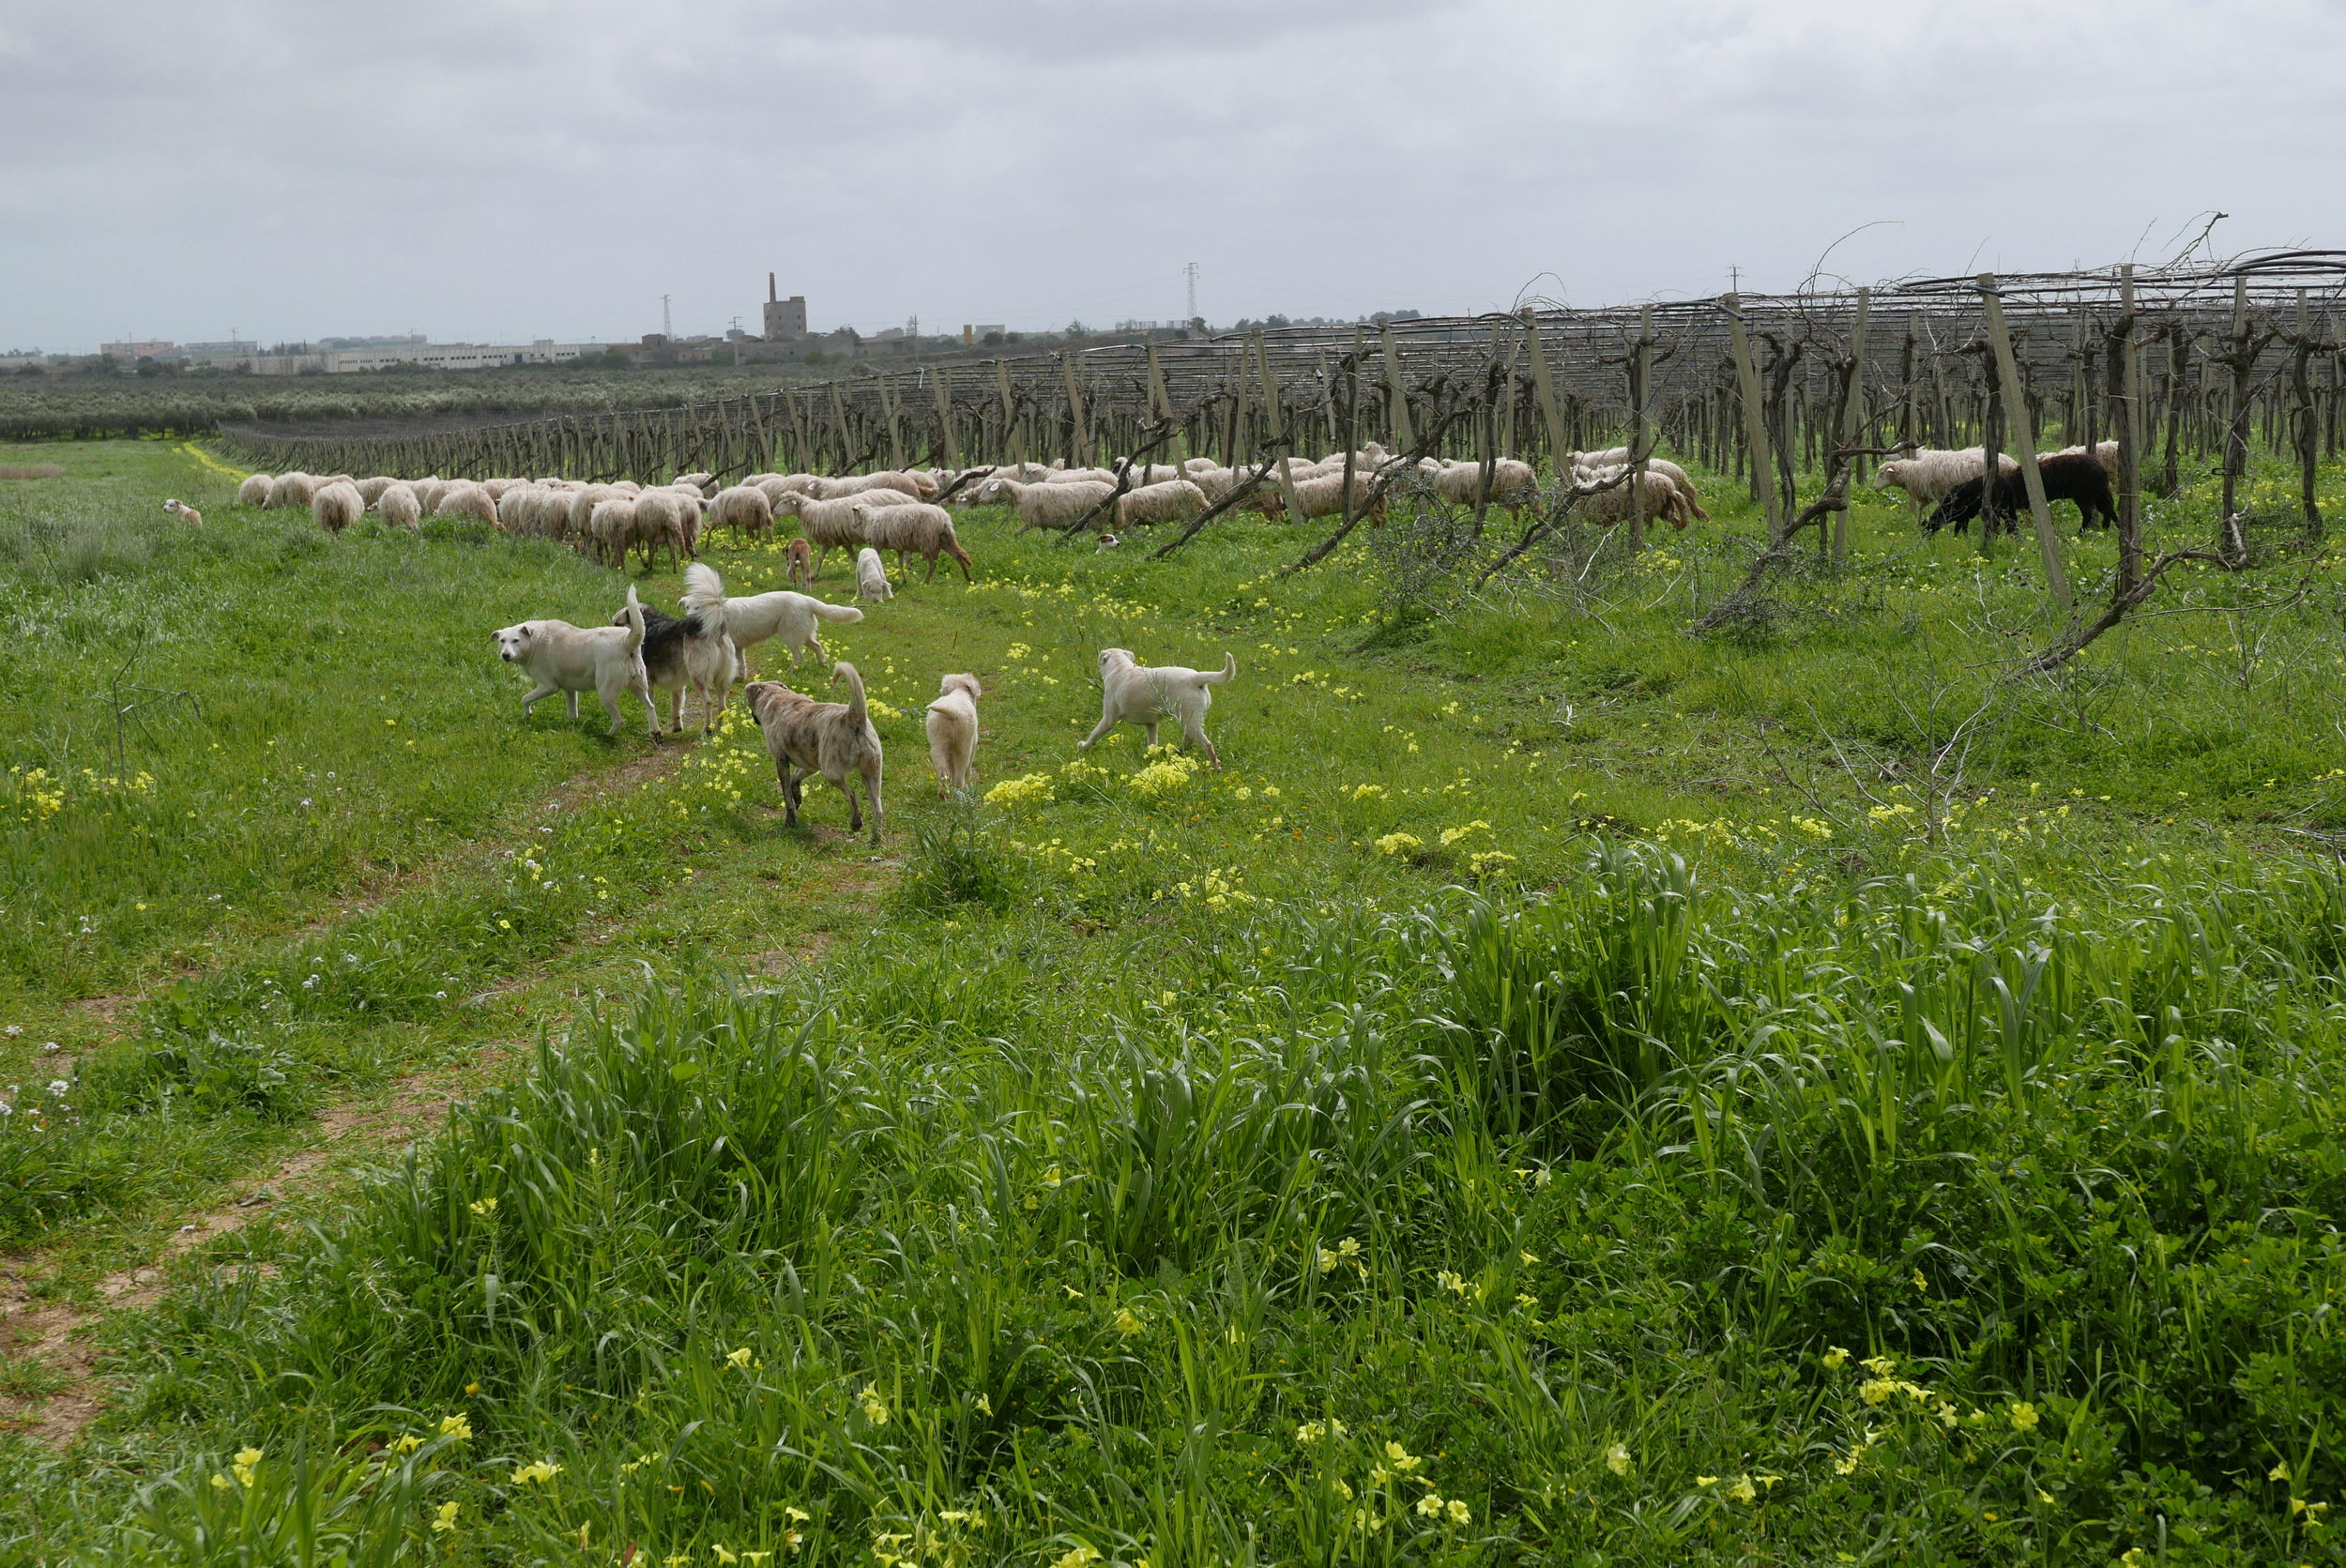
Written by Linda Sarris, Photos by Pietro Motisii
“EDITOR’S NOTE:
When we reached out to Chef Linda Sarris about a recipe series based on Matera’s own Deputy Prosecutor Imma Tataranni, she immediately said, “Yes! And would you believe I just returned from a trip to Matera in Basilicata?” We think you’ll agree, Linda’s first-hand knowledge of the food, people and culture of Matera deliciously inform these Imma Tataranni inspired recipes!”
In Italy, every pasta shape has a name that might vary slightly from town to town (or depending on its size) and a sauce or garnish that goes with it. Pasta shapes and even the kind of dough they are made of are regional. In the northern part of Italy, they will make pasta dough with flour and eggs but in the south they will be made only with flour and water. Stuffed pastas like tortellini need the eggs to give them the elasticity to be rolled out thinly and stuffed with a filling, while an eggless pasta dough such as orecchiette, can stand alone.
Depending on their shape, there are sauces that go well with them. Something with a tube like rigatoni or a shell shape like conchiglioni are used to scoop up thick tomato sauces or ragù. The authentic pairings are recommended because they are tried and true — and just make sense. However, most food lovers and chefs often want to think outside of the box and make pasta dishes in their own way.
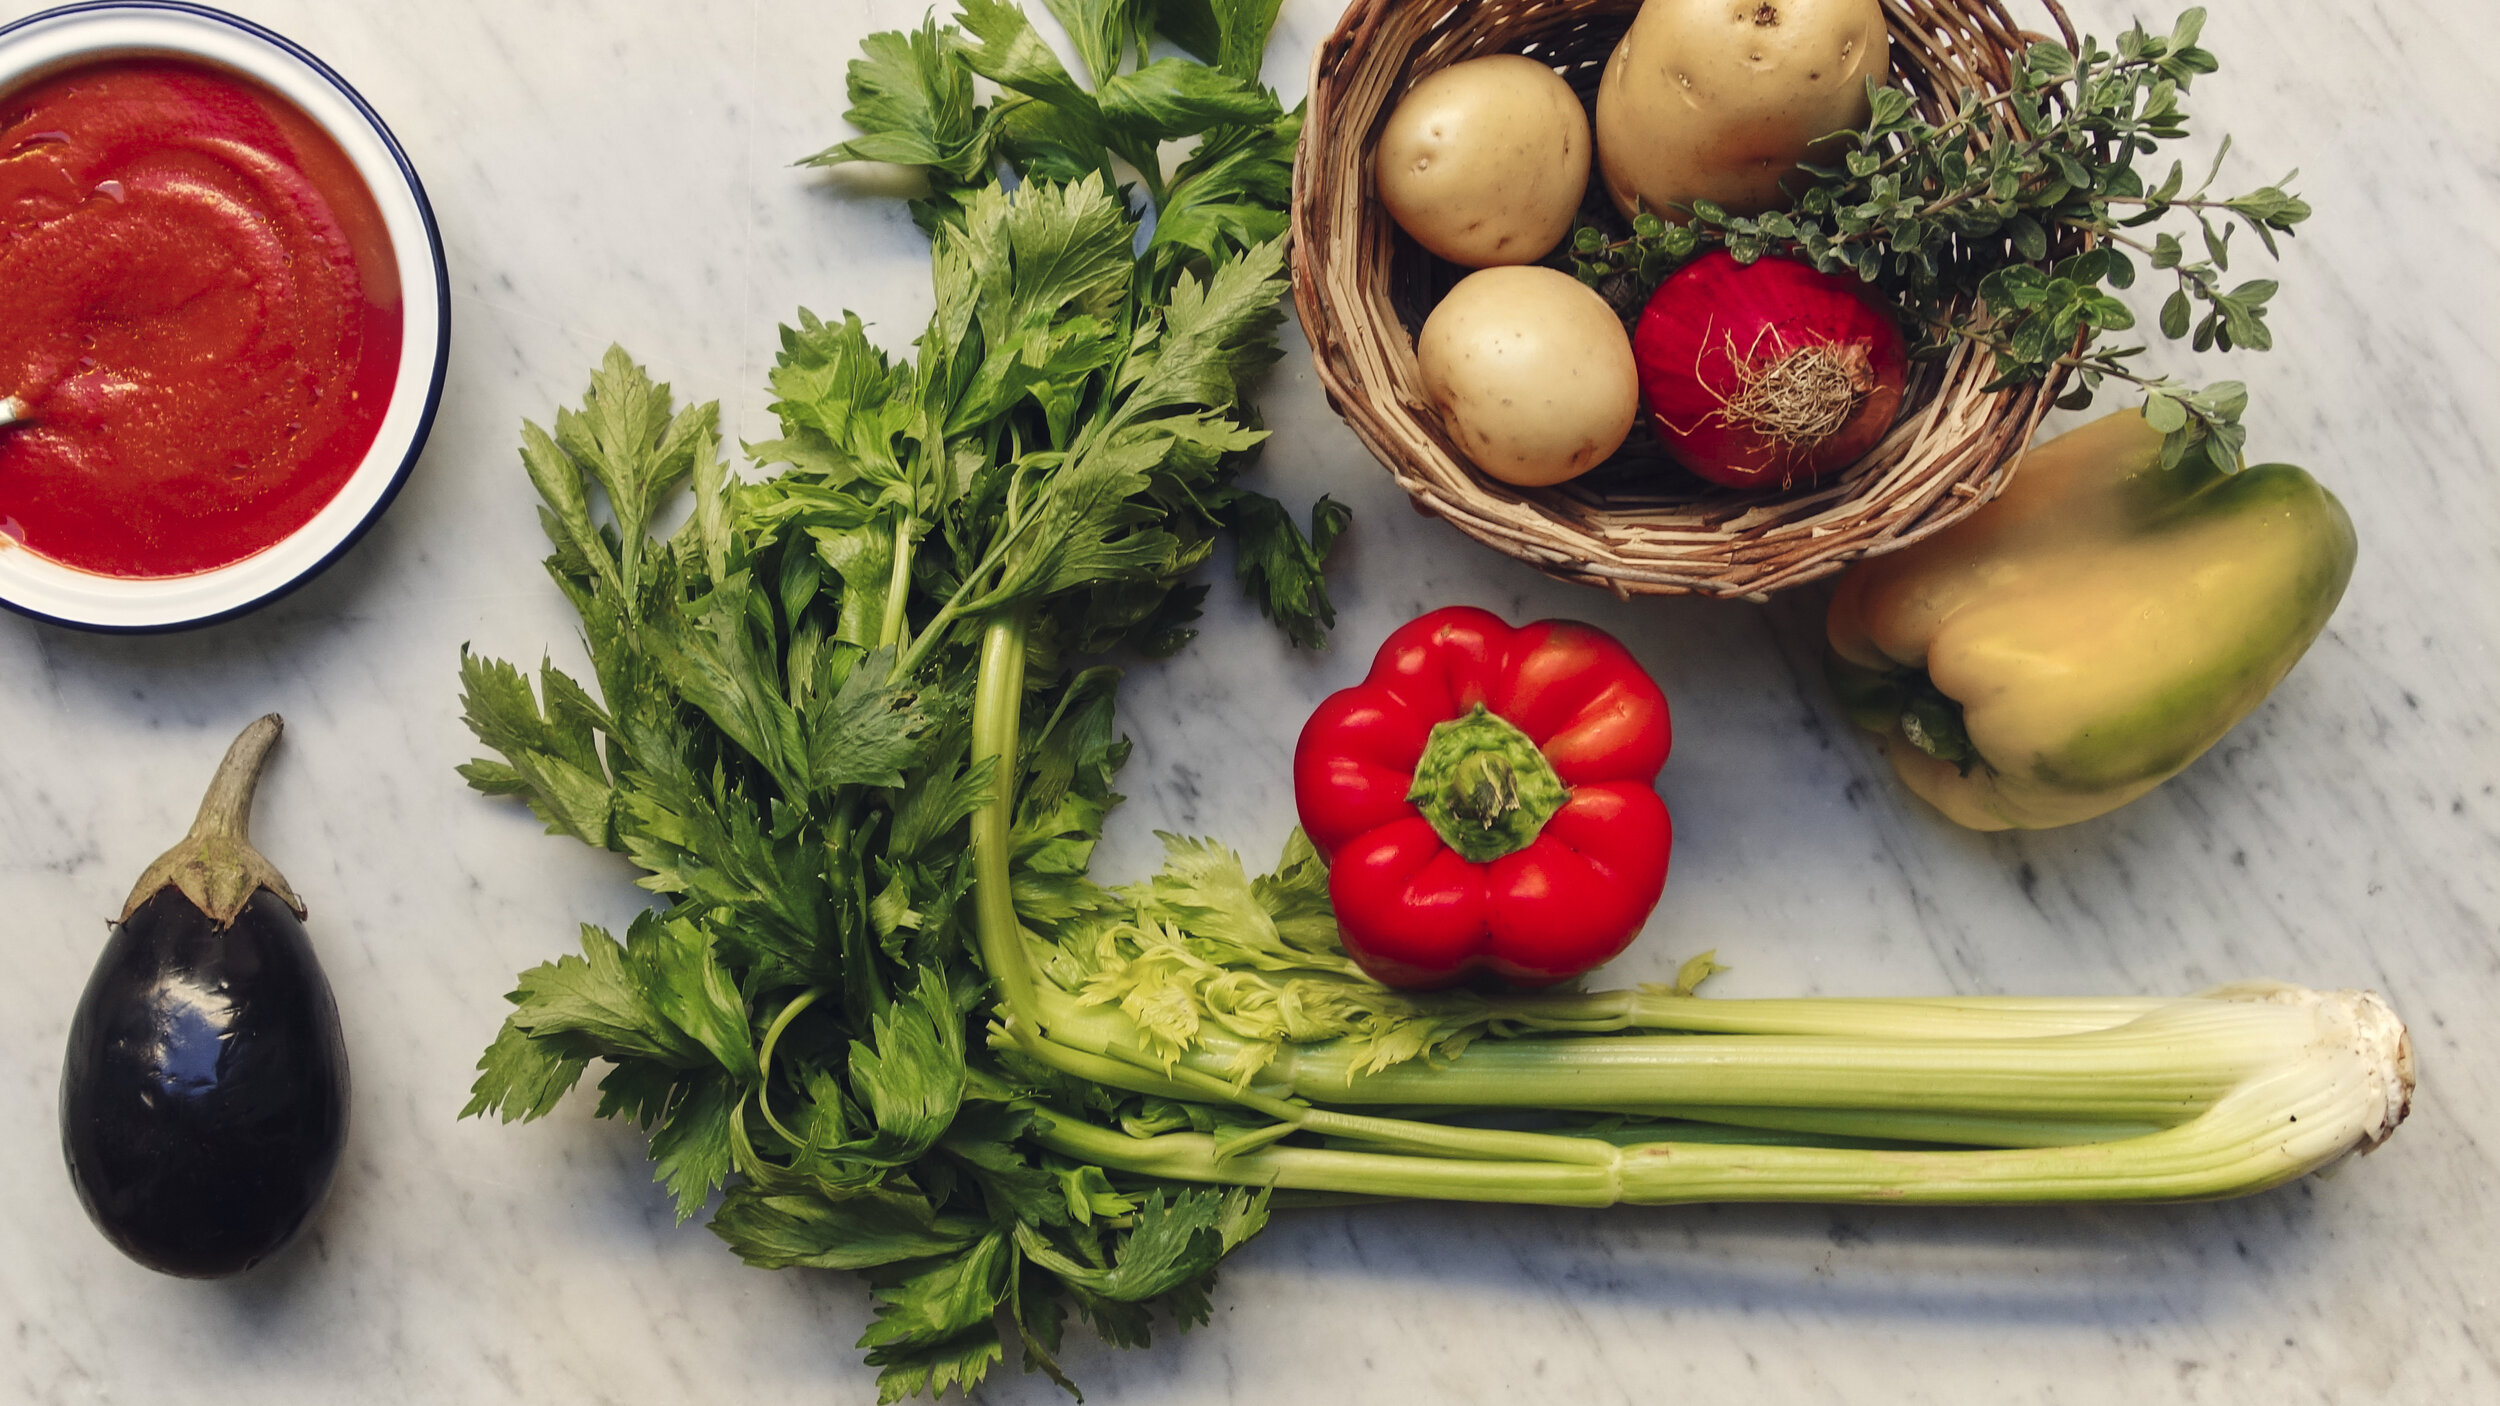
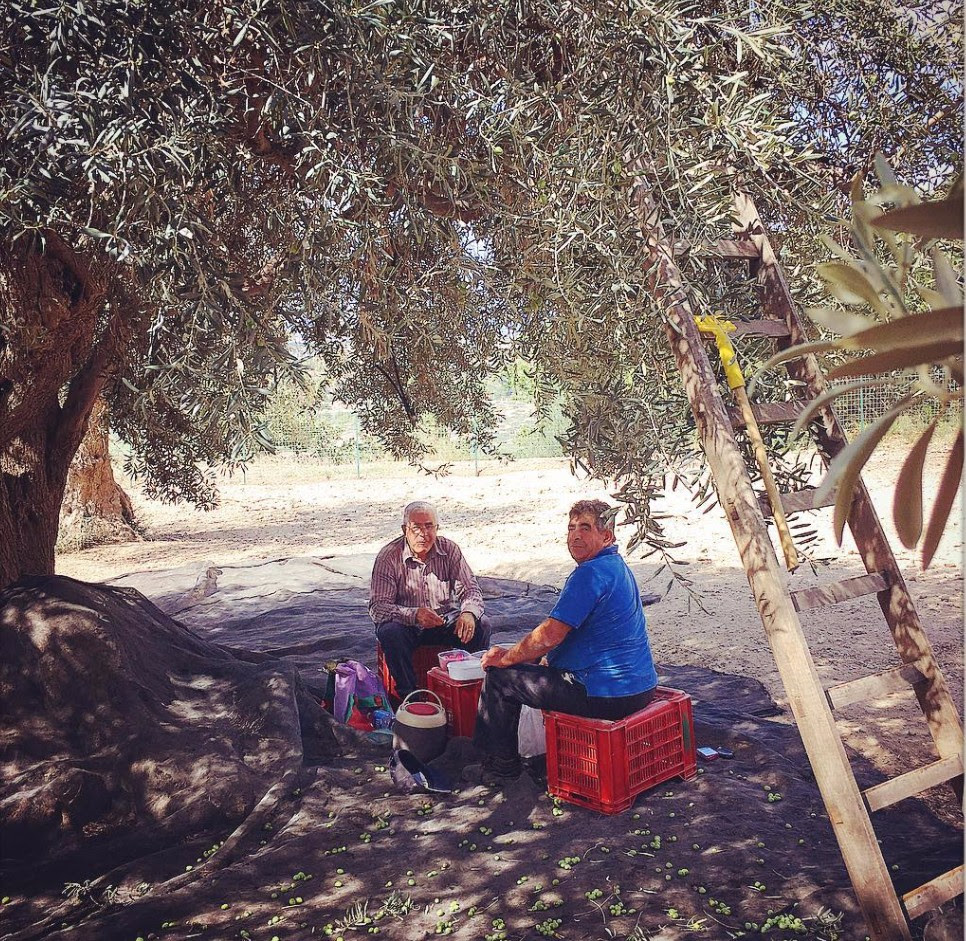
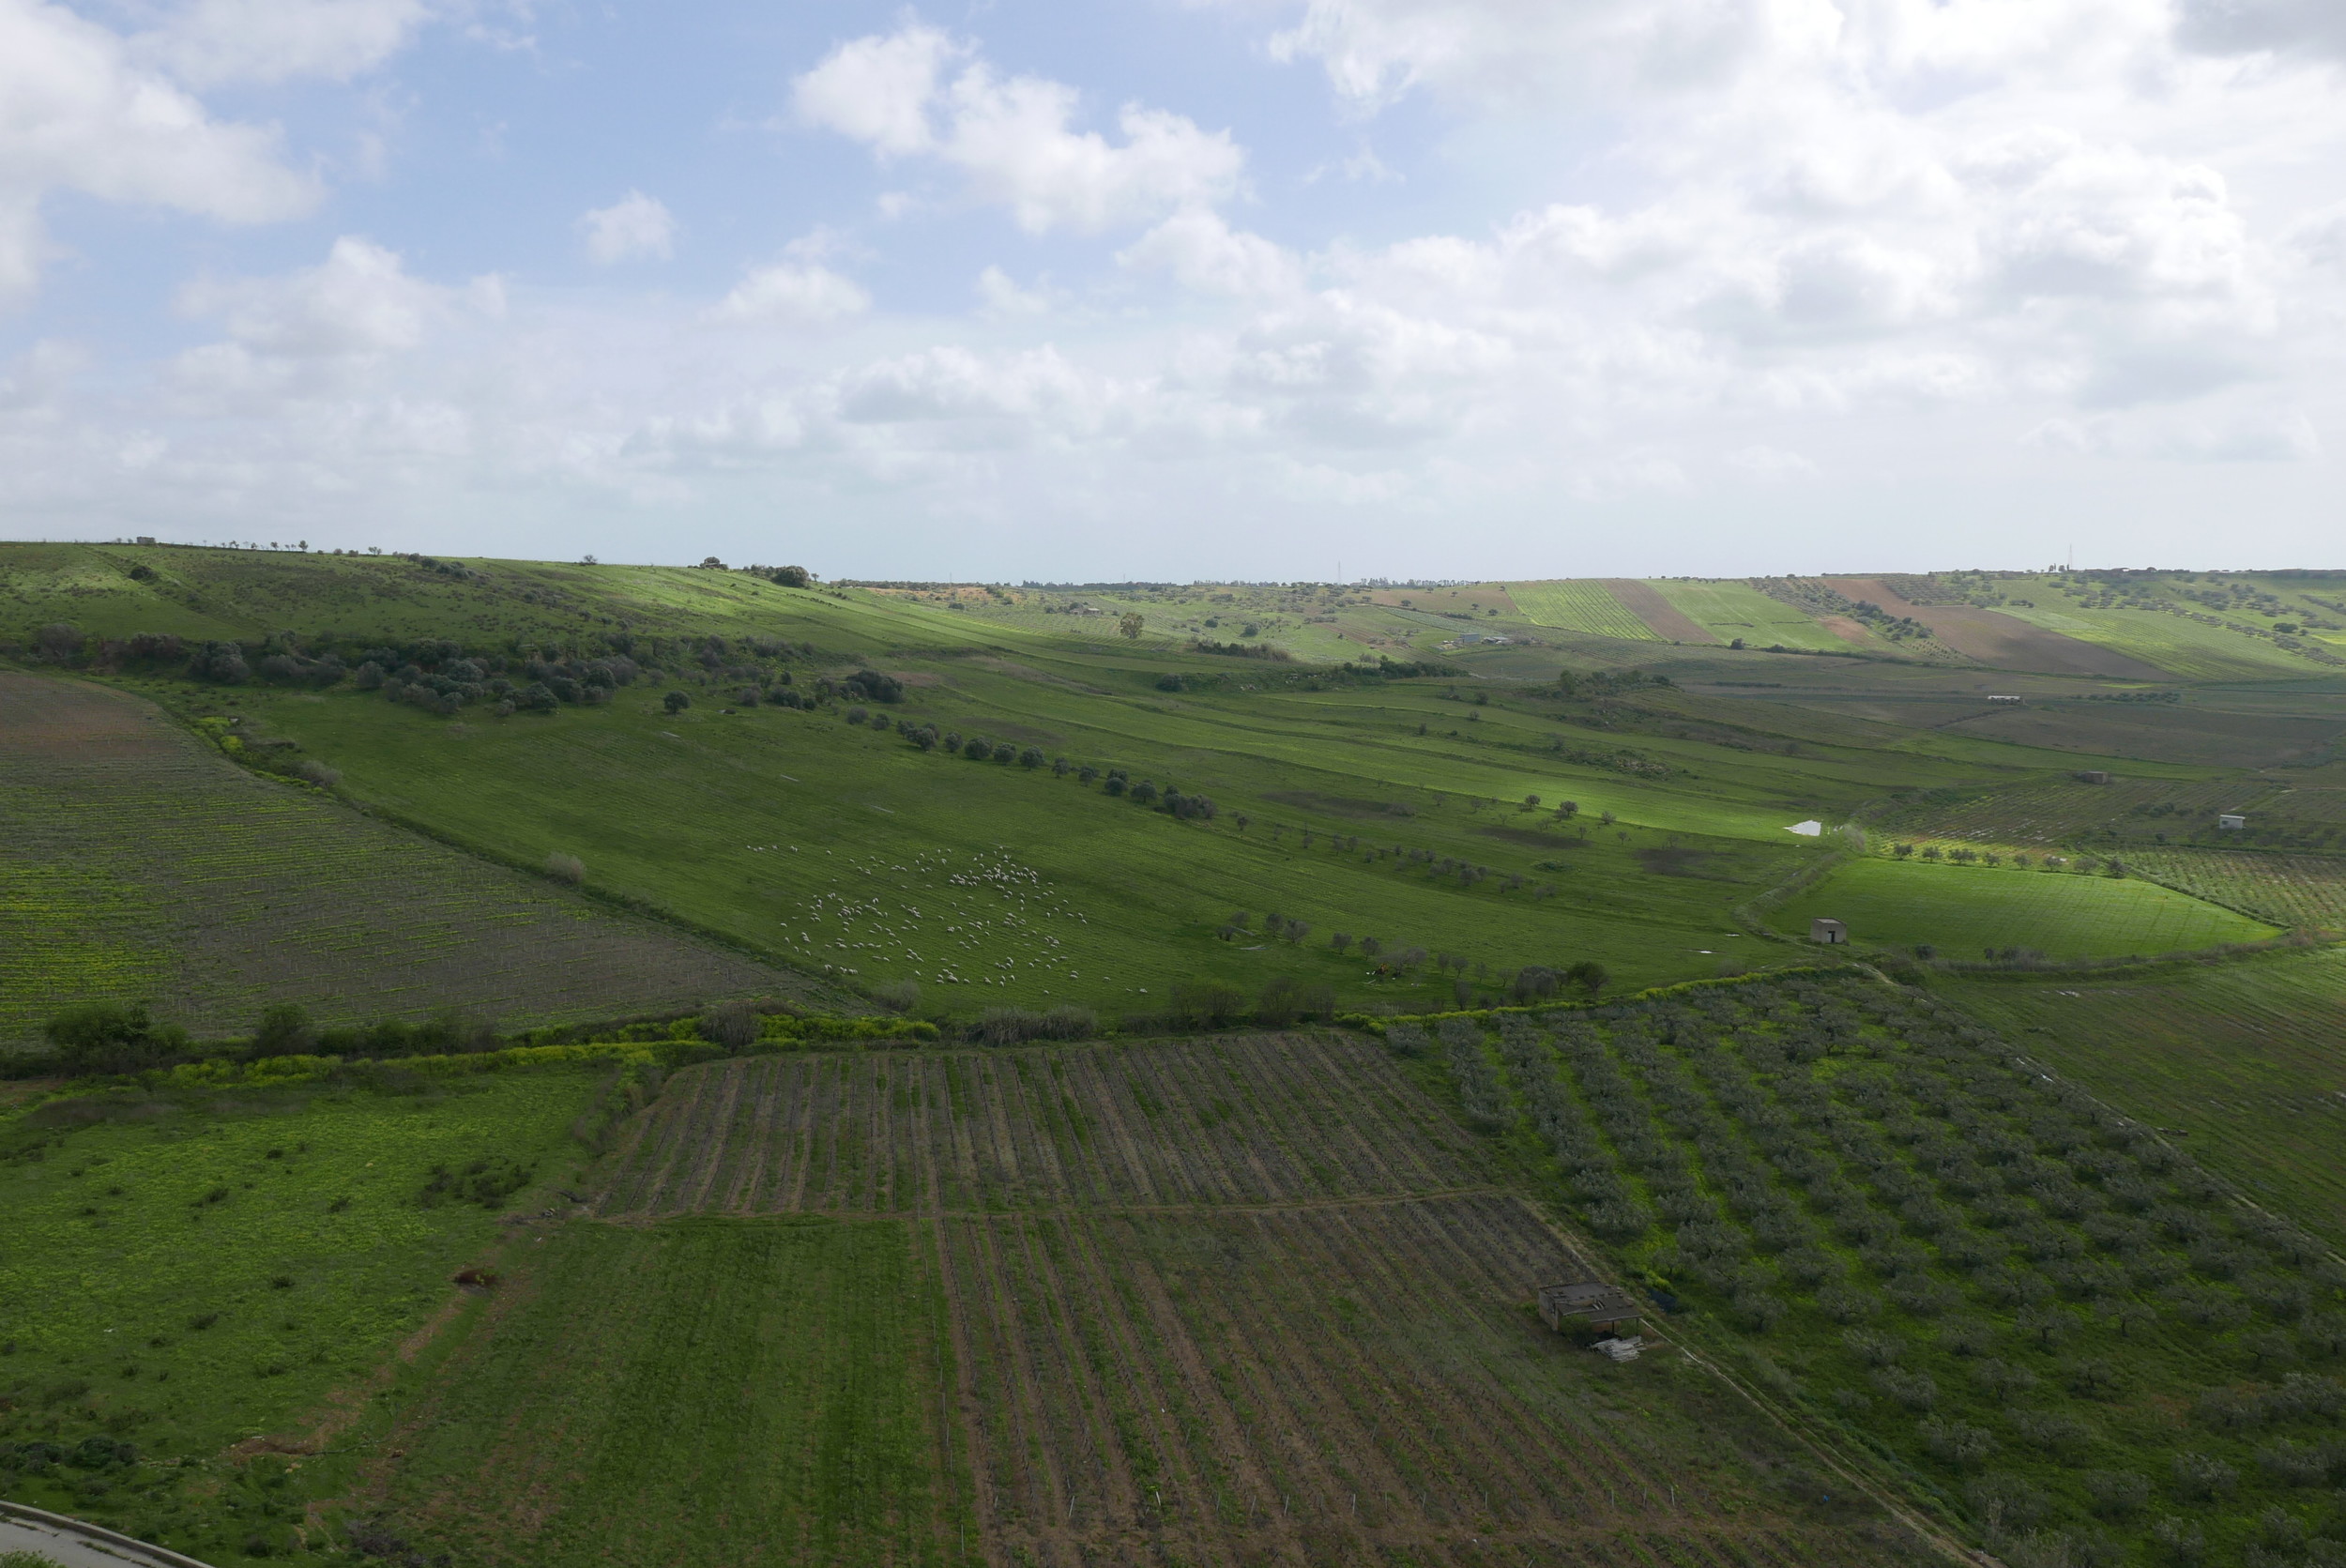
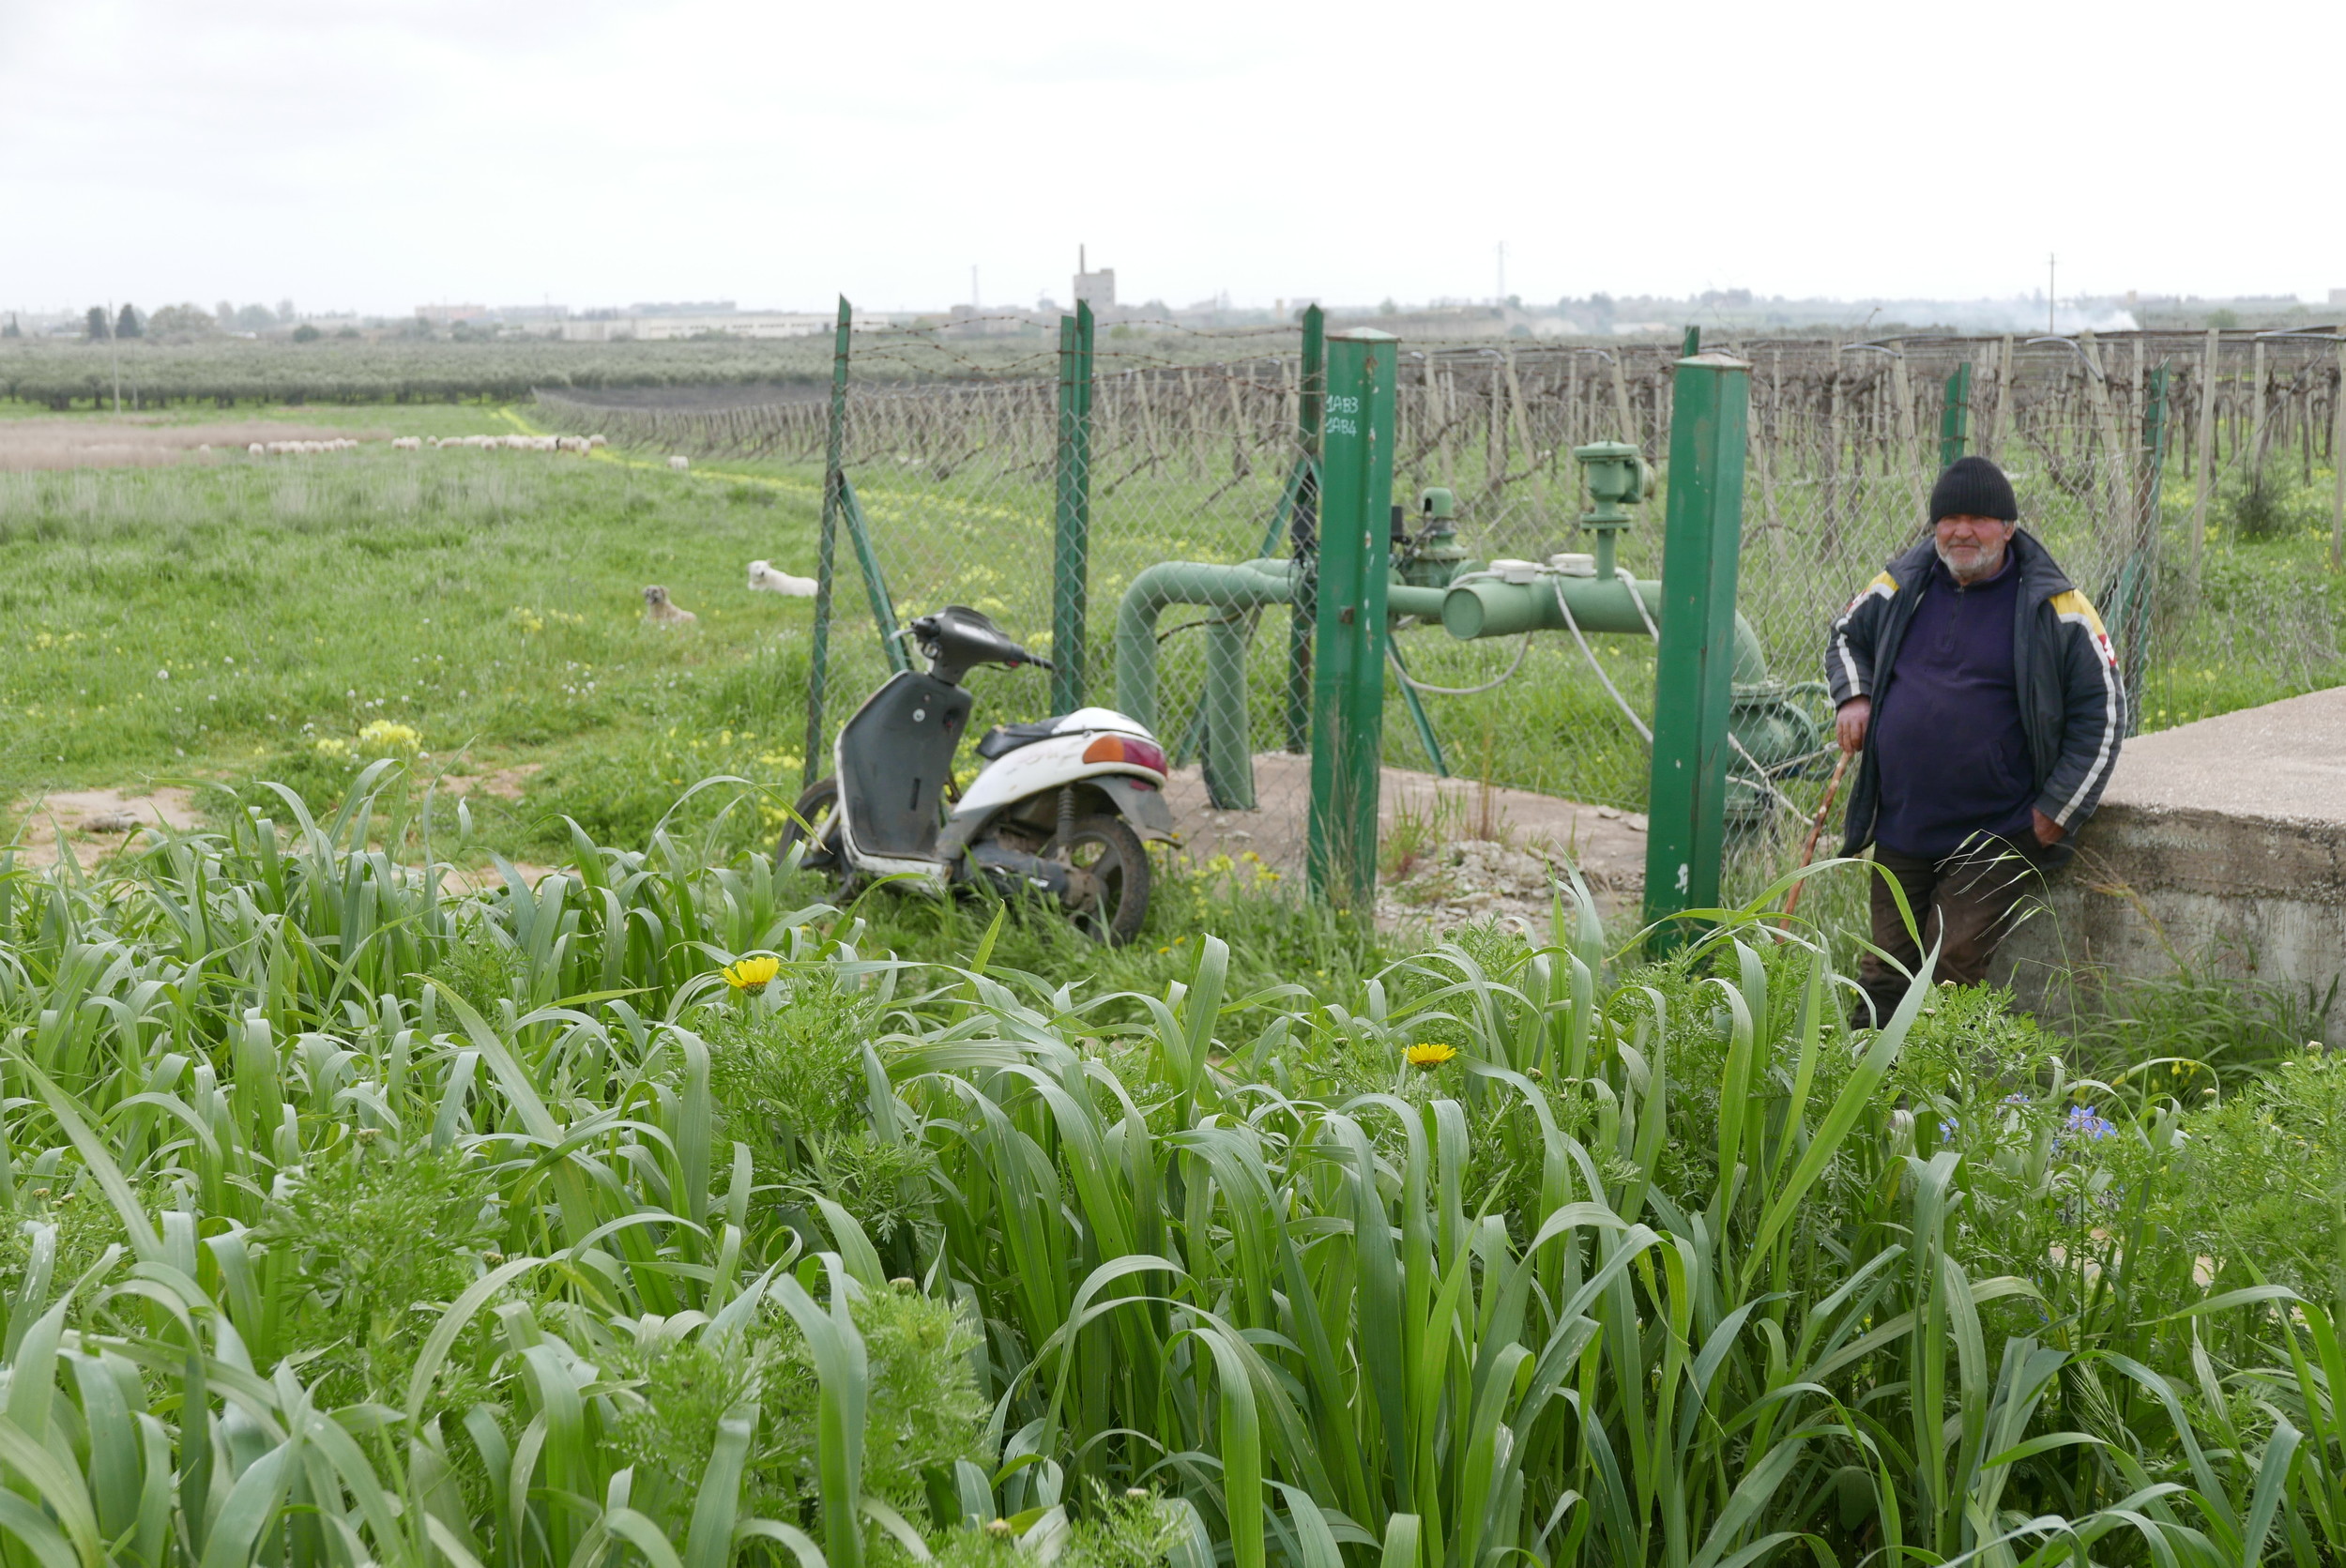
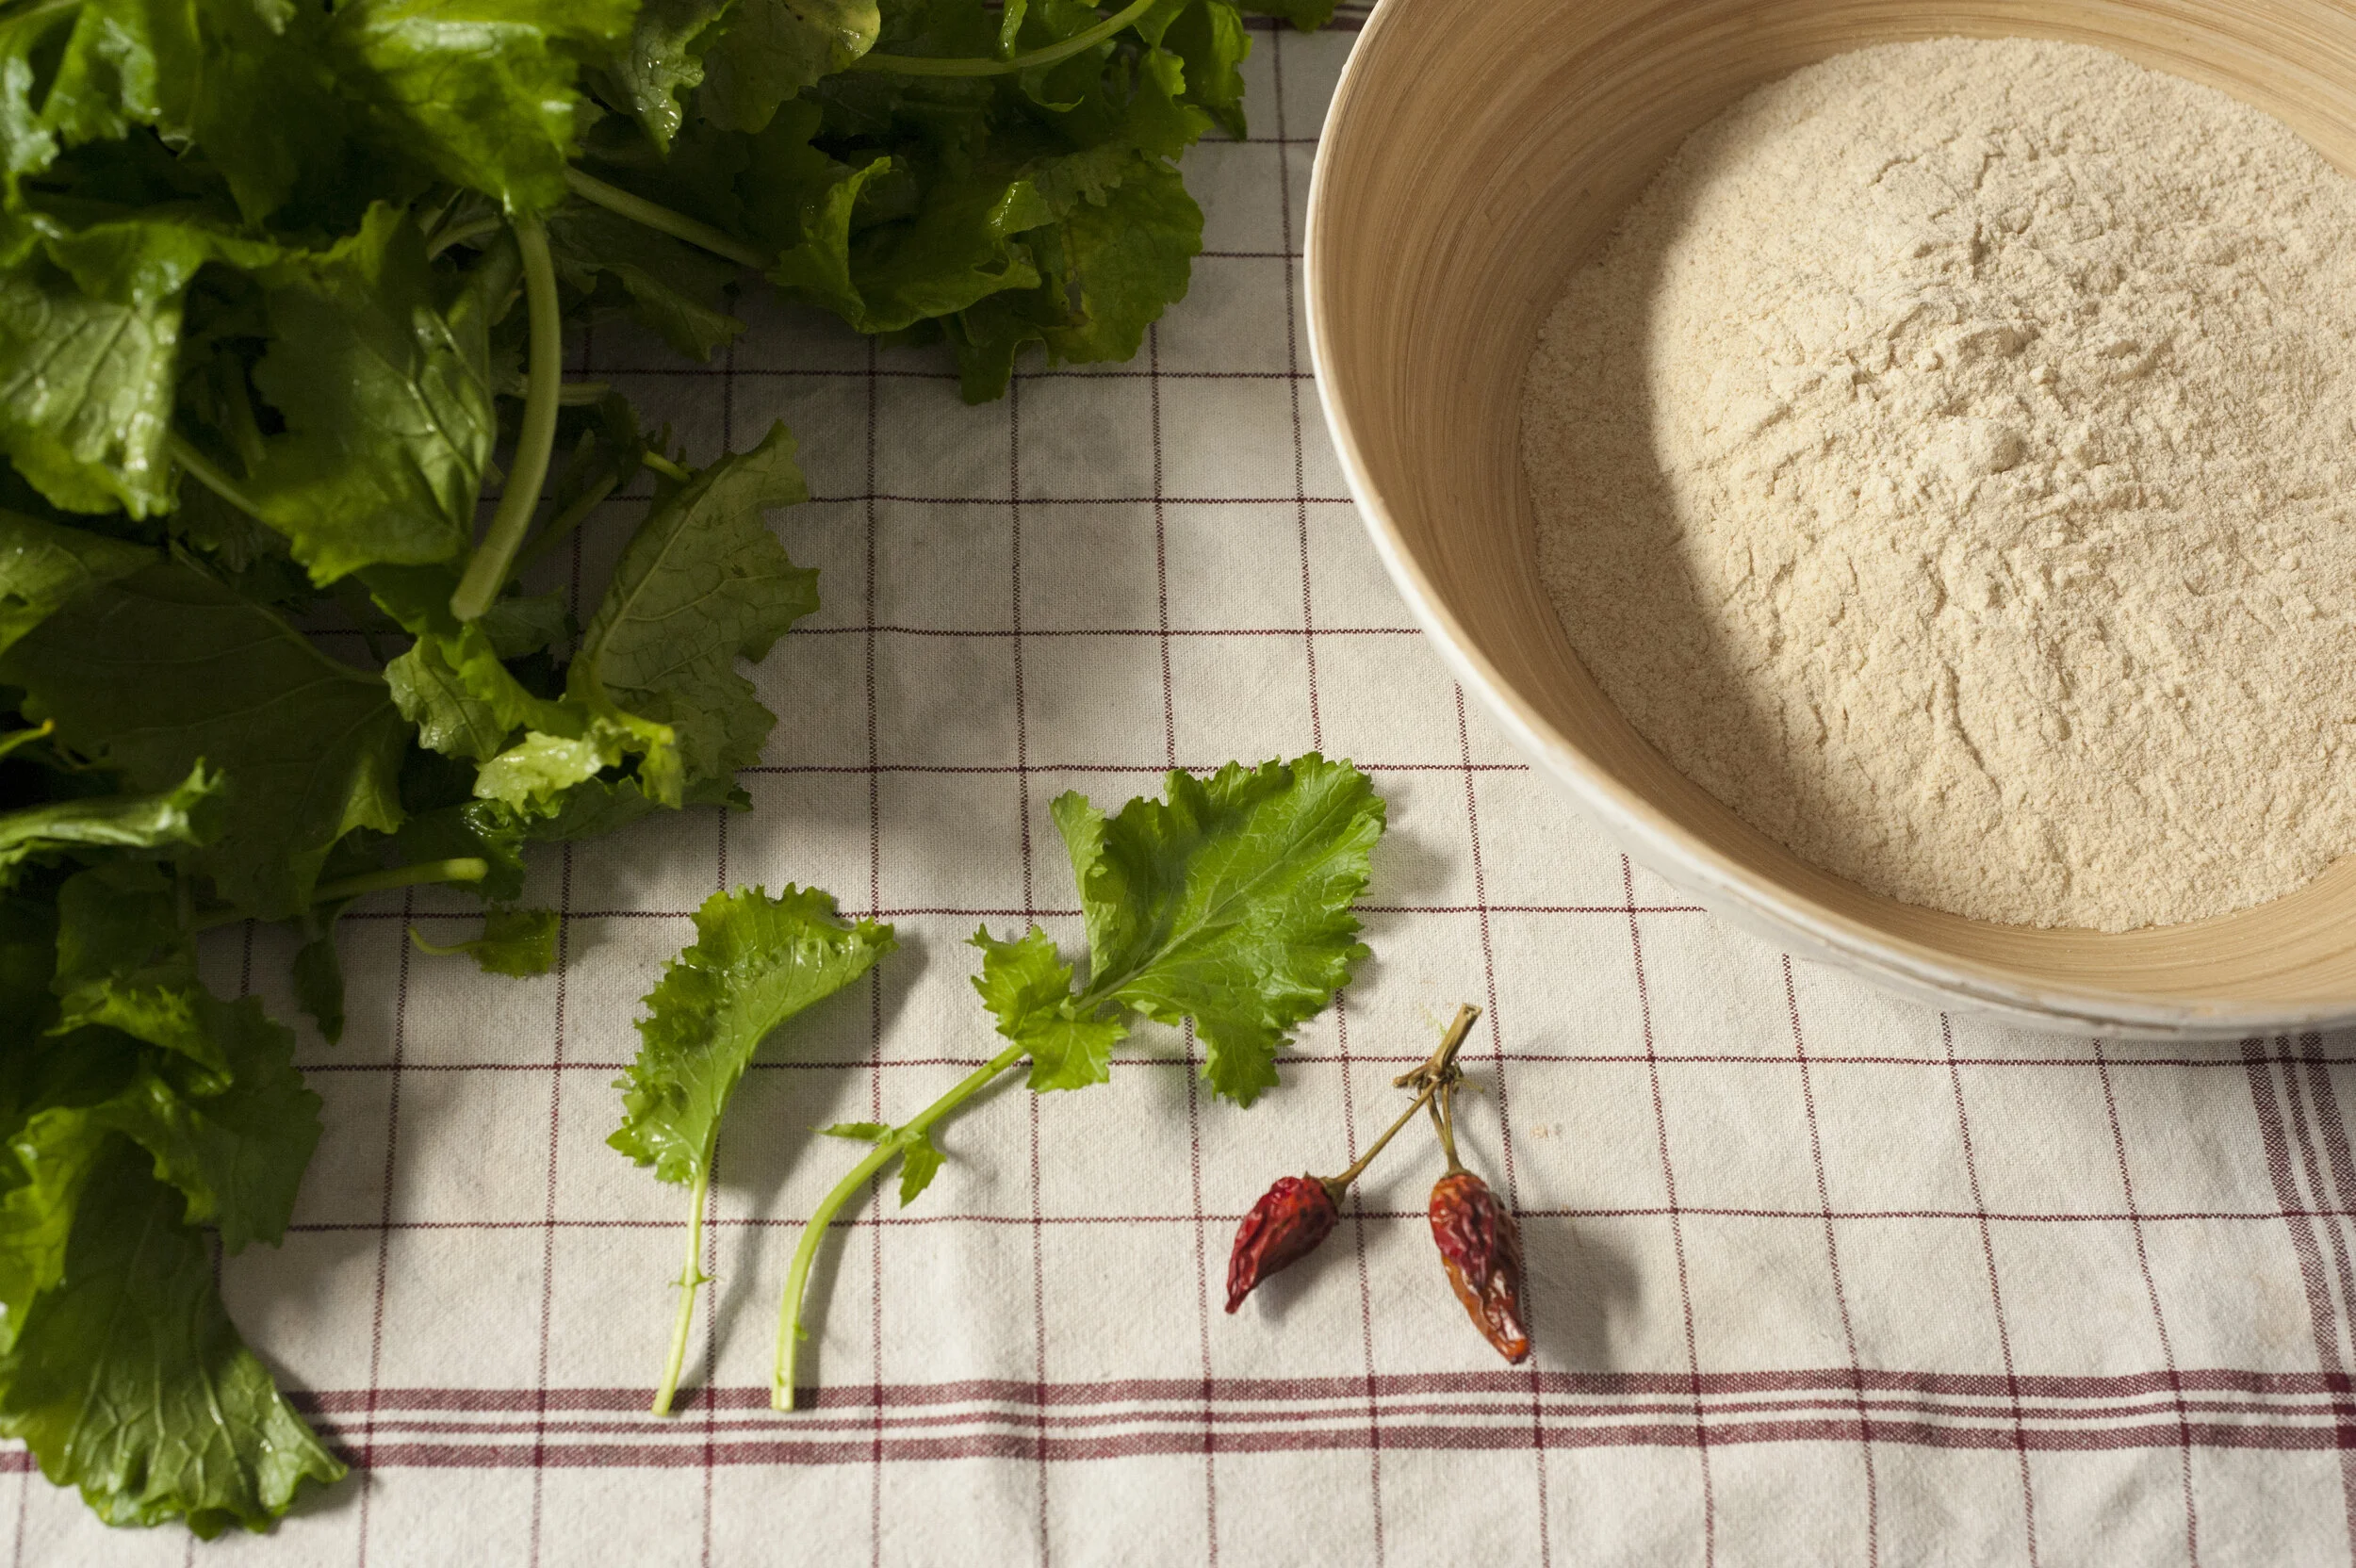
In the southern Italian region of Puglia and also in Basilicata, where our Imma Tataranni – Sostituto procuratore series is based, the most typical pasta dish you’ll encounter is orecchiette con cima di rapa. Orecchiette simply translates to “little ears” and they are made with durum wheat semola flour or sometimes with an ash-colored flour known as grano arso.
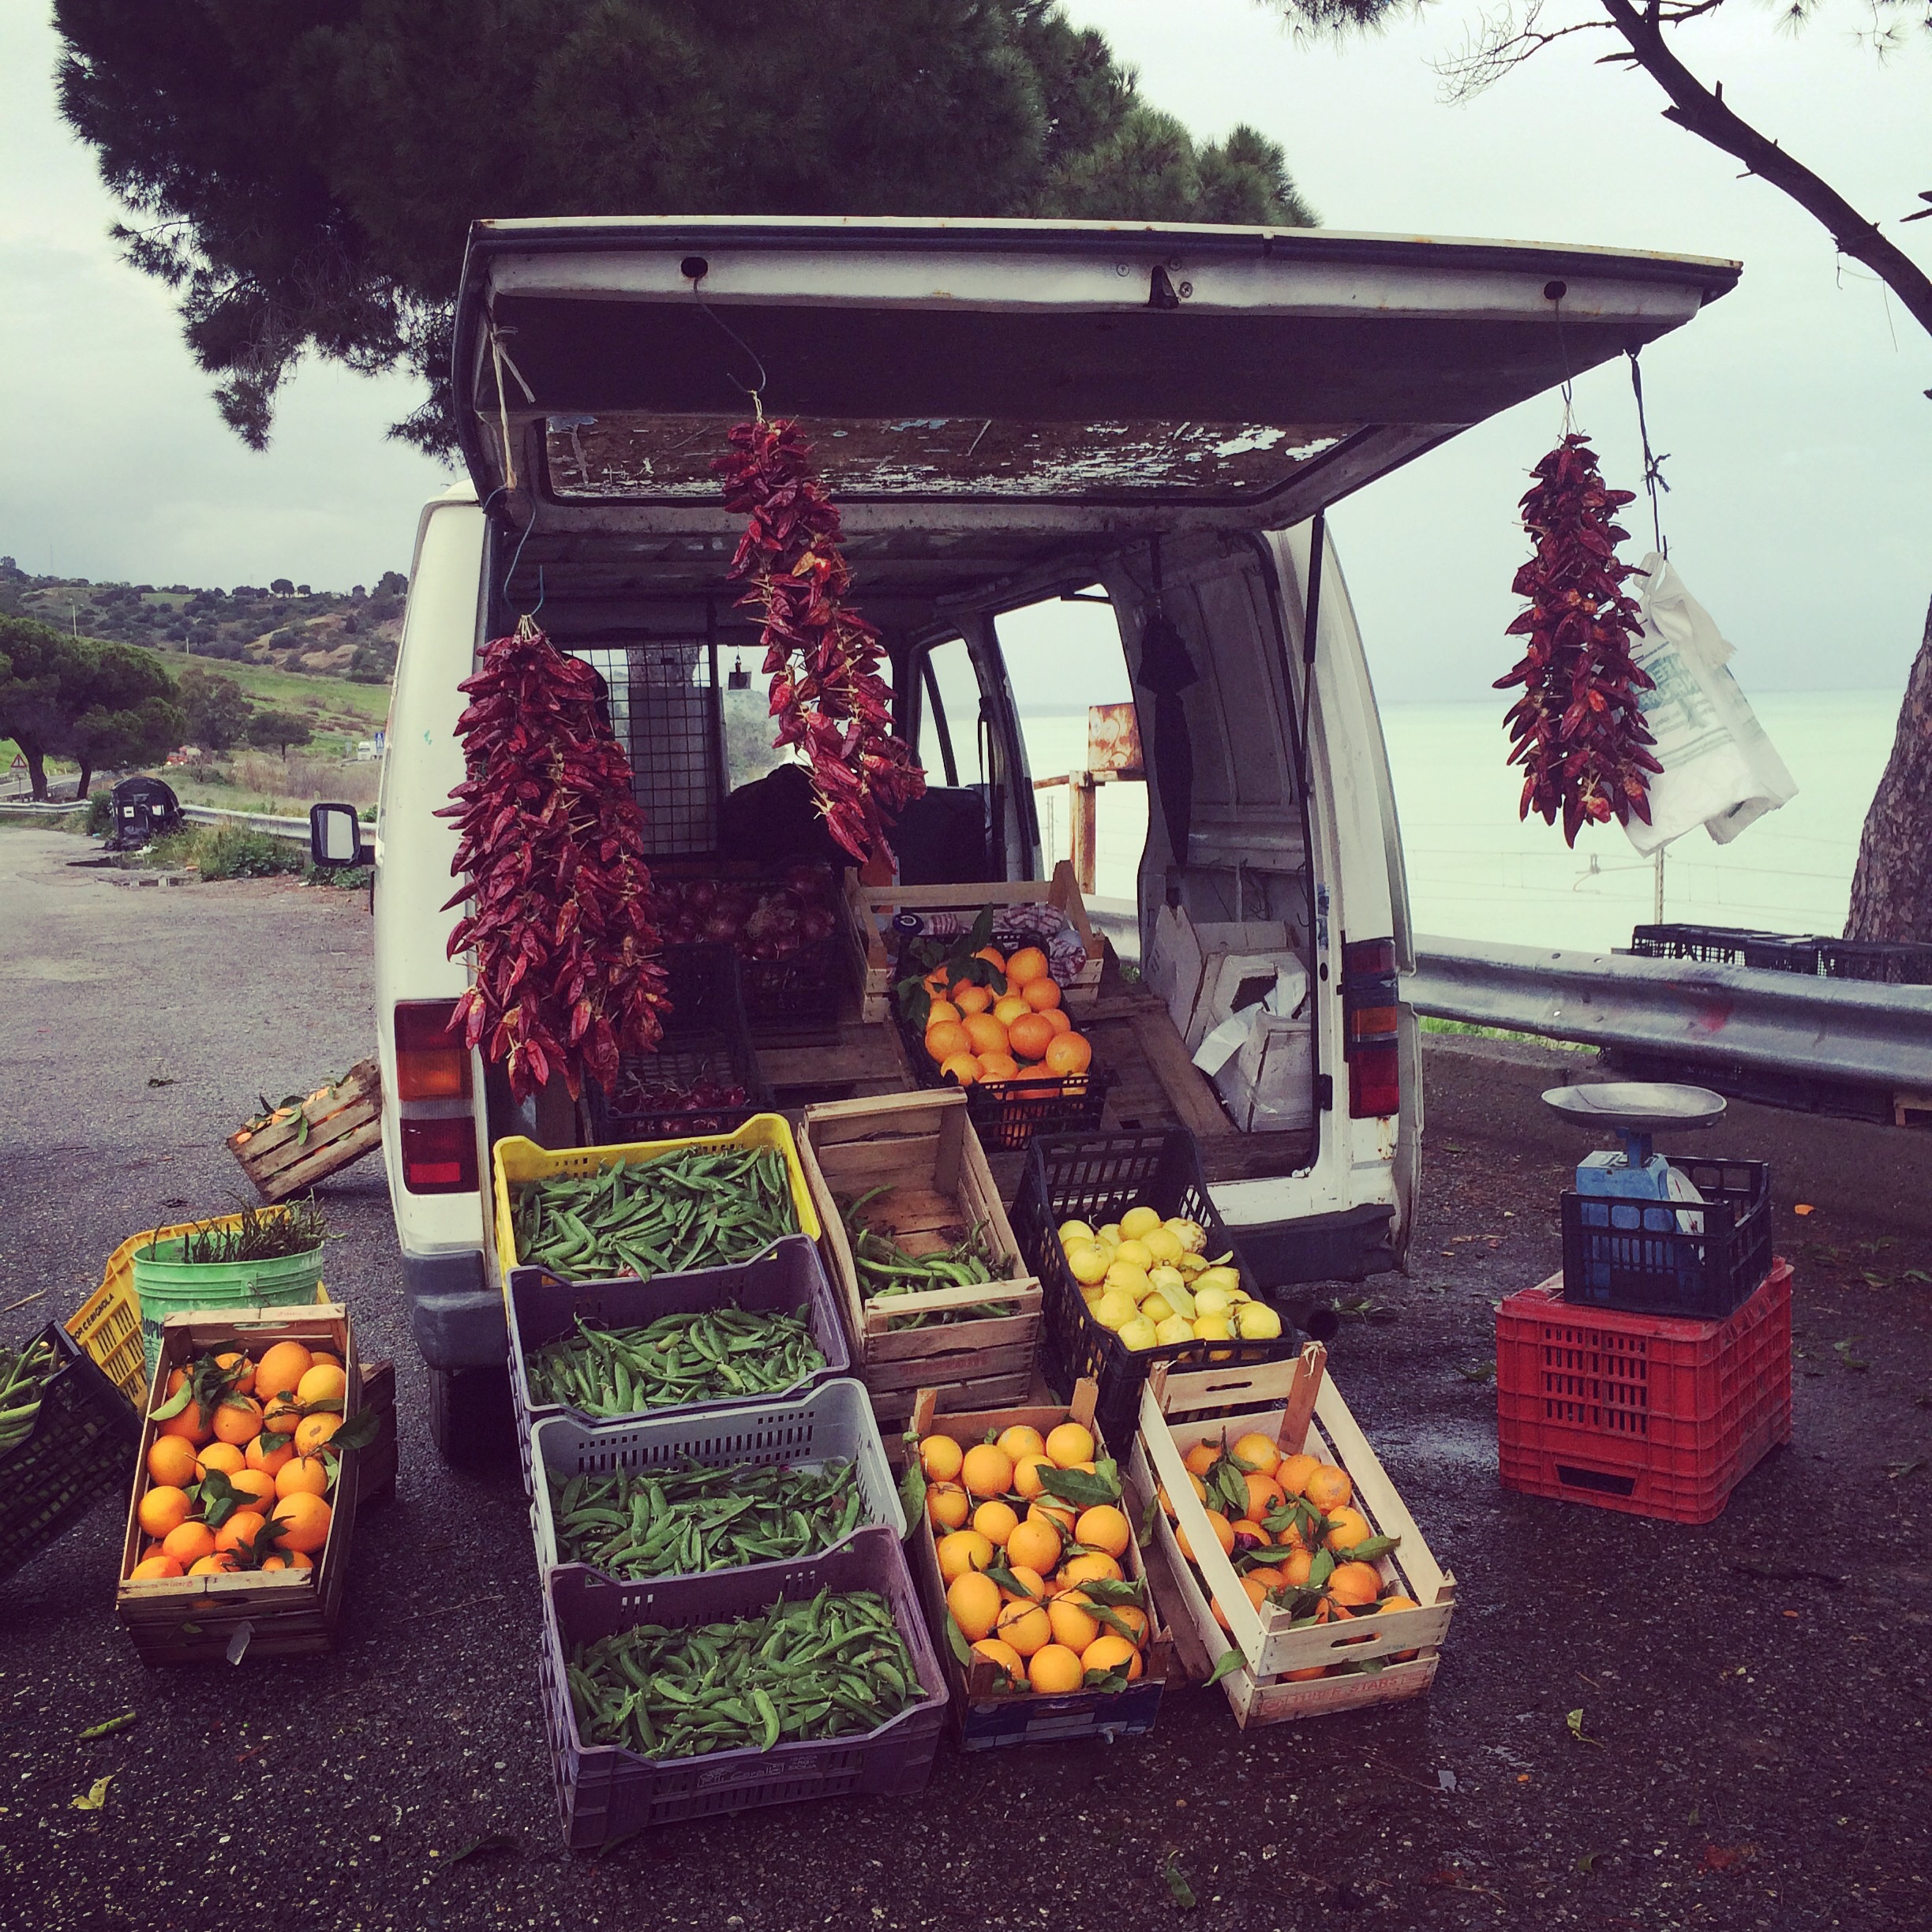
There is the age-old question in translating Italian recipes to English. What exactly is cima di rape? Botanically speaking, it is brassica rapa known commonly as a turnip green. Luckily, you’ll be able to substitute in another bitter green that might be available depending on where you live.
Notes from the Chef:
When sourcing your ingredients, traditionally turnip greens would be used in this preparation. Broccoli rabe can be the best available option if you need to make substitutions.
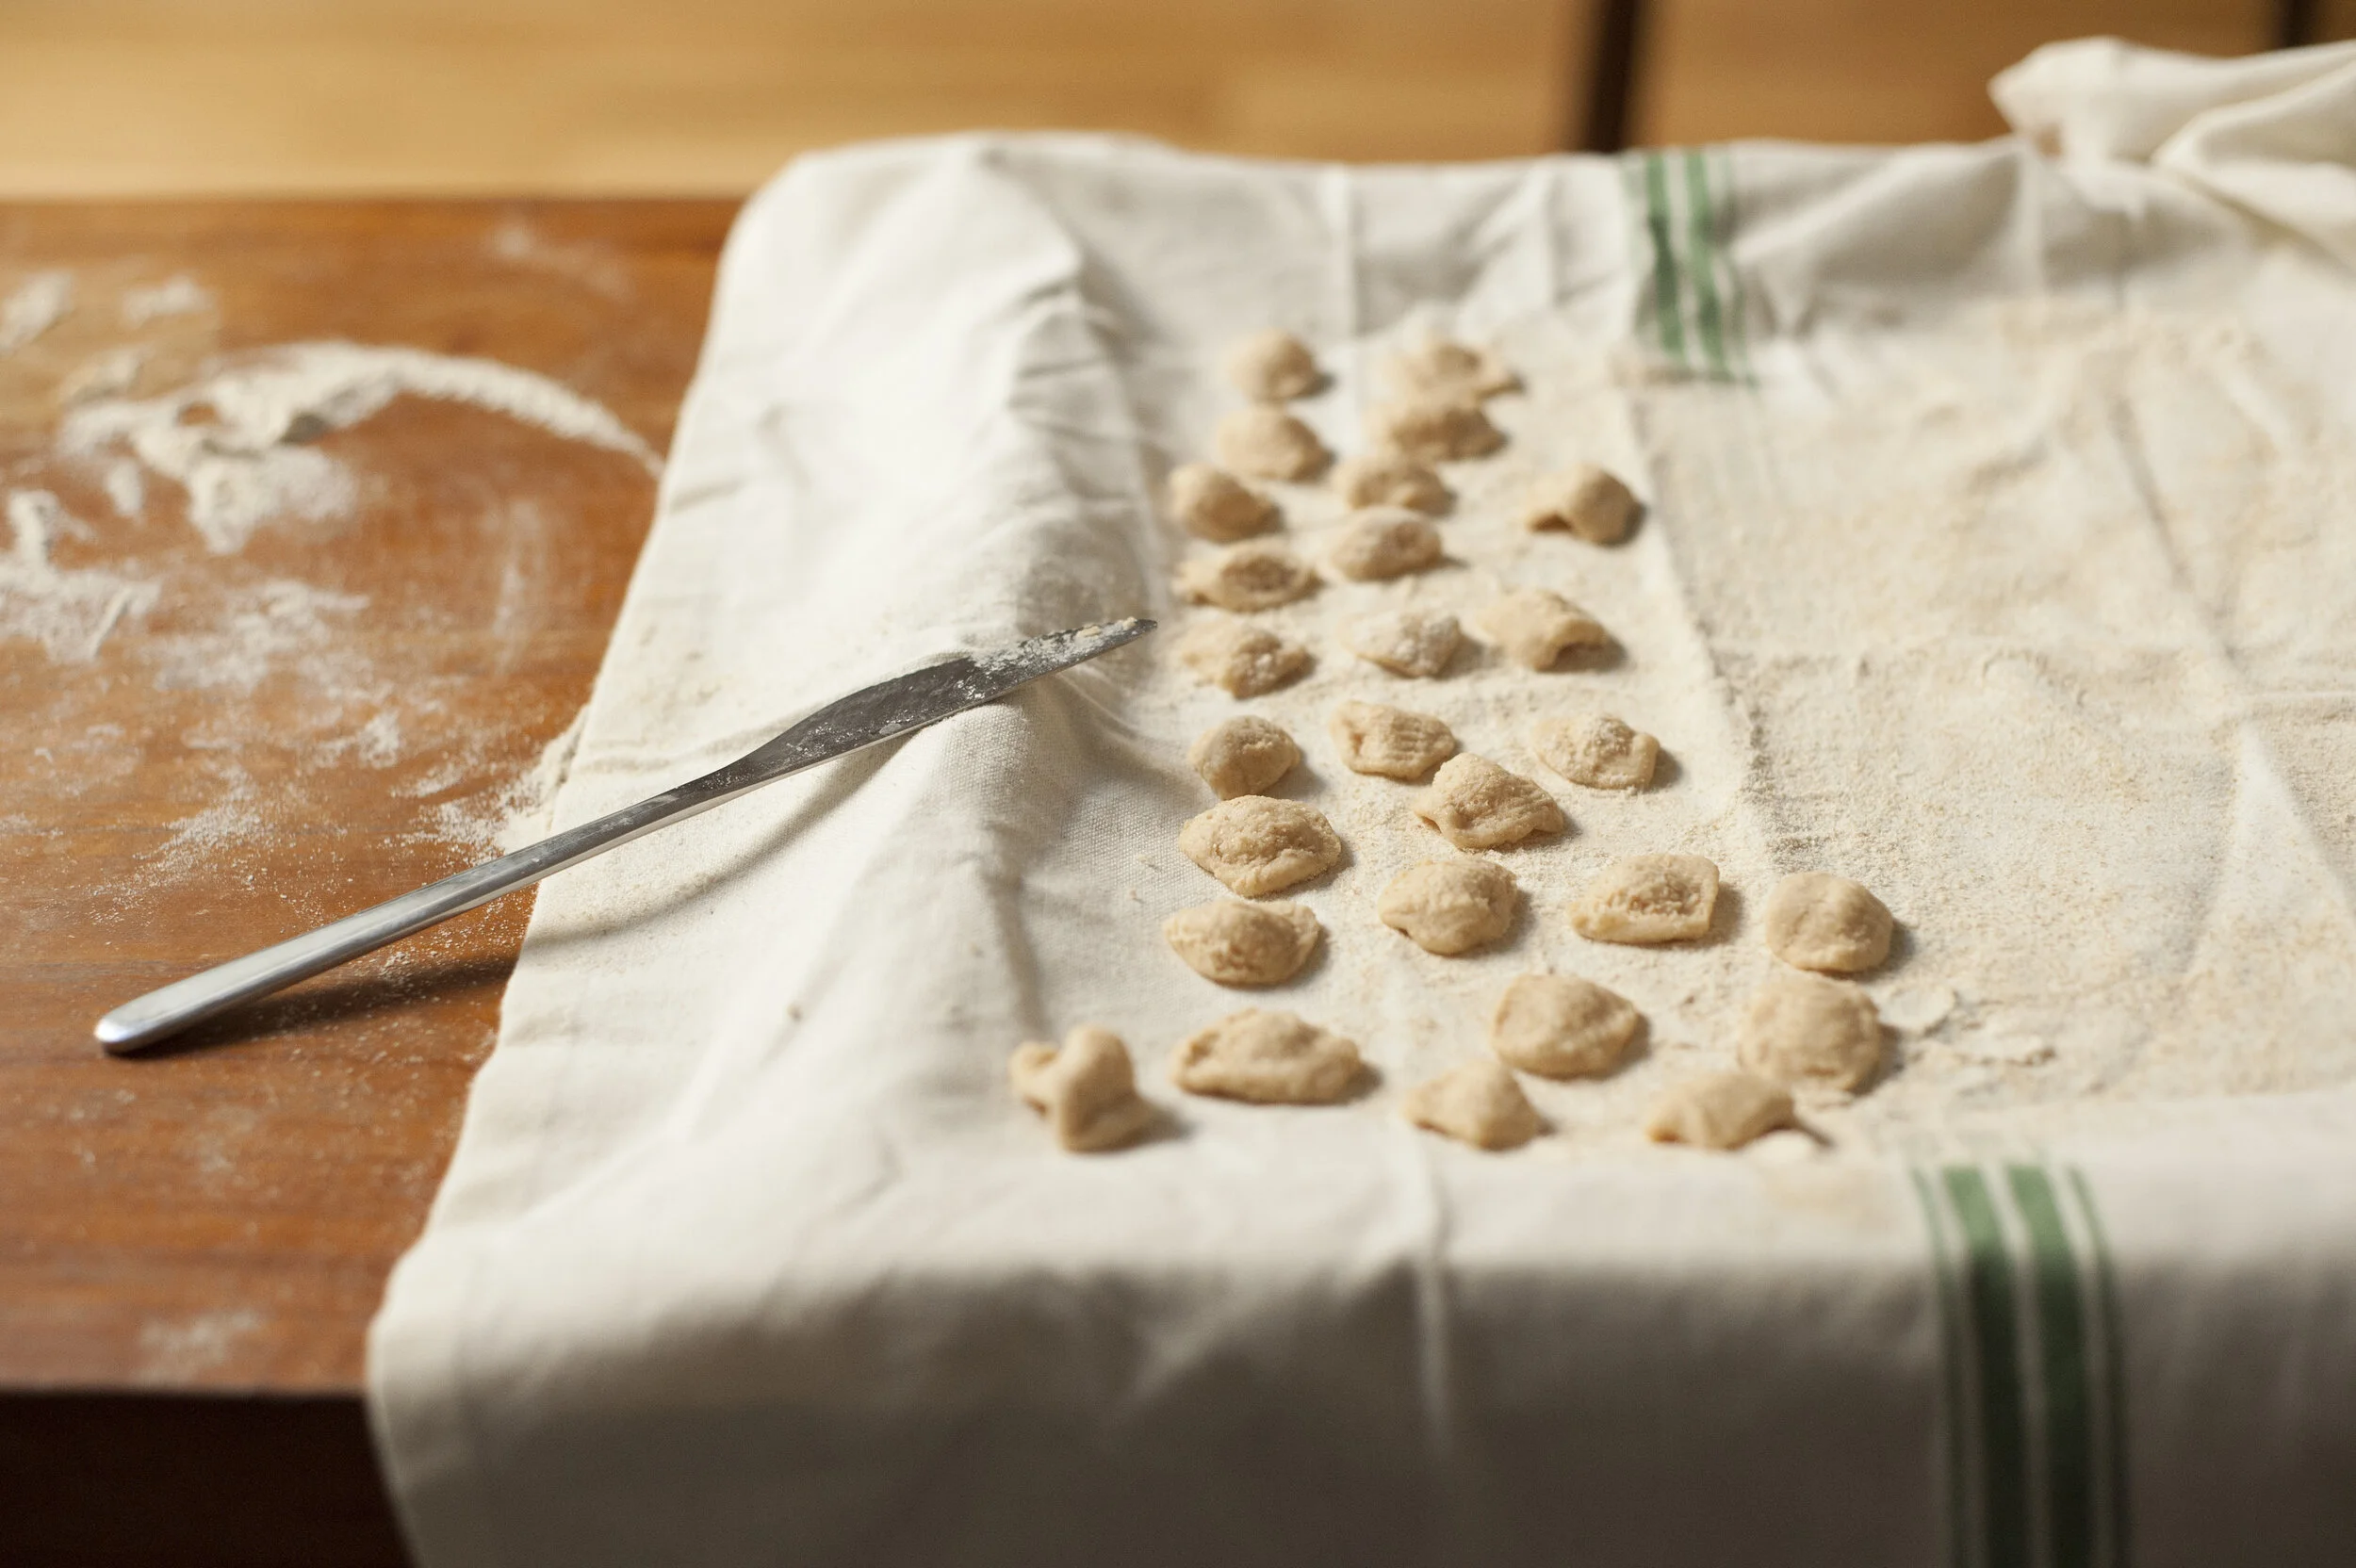
Making the orecchiette by hand is a true art form here in southern Italy. It will take lots of practice to get the dough to the right consistency and the “little ears” perfectly shaped. If you want to go all out, make the orecchiette pasta by hand, but in a pinch, just use a dry pasta substitute and plan on about 100g (about 4 oz.) of dry pasta per person for a first course dish.
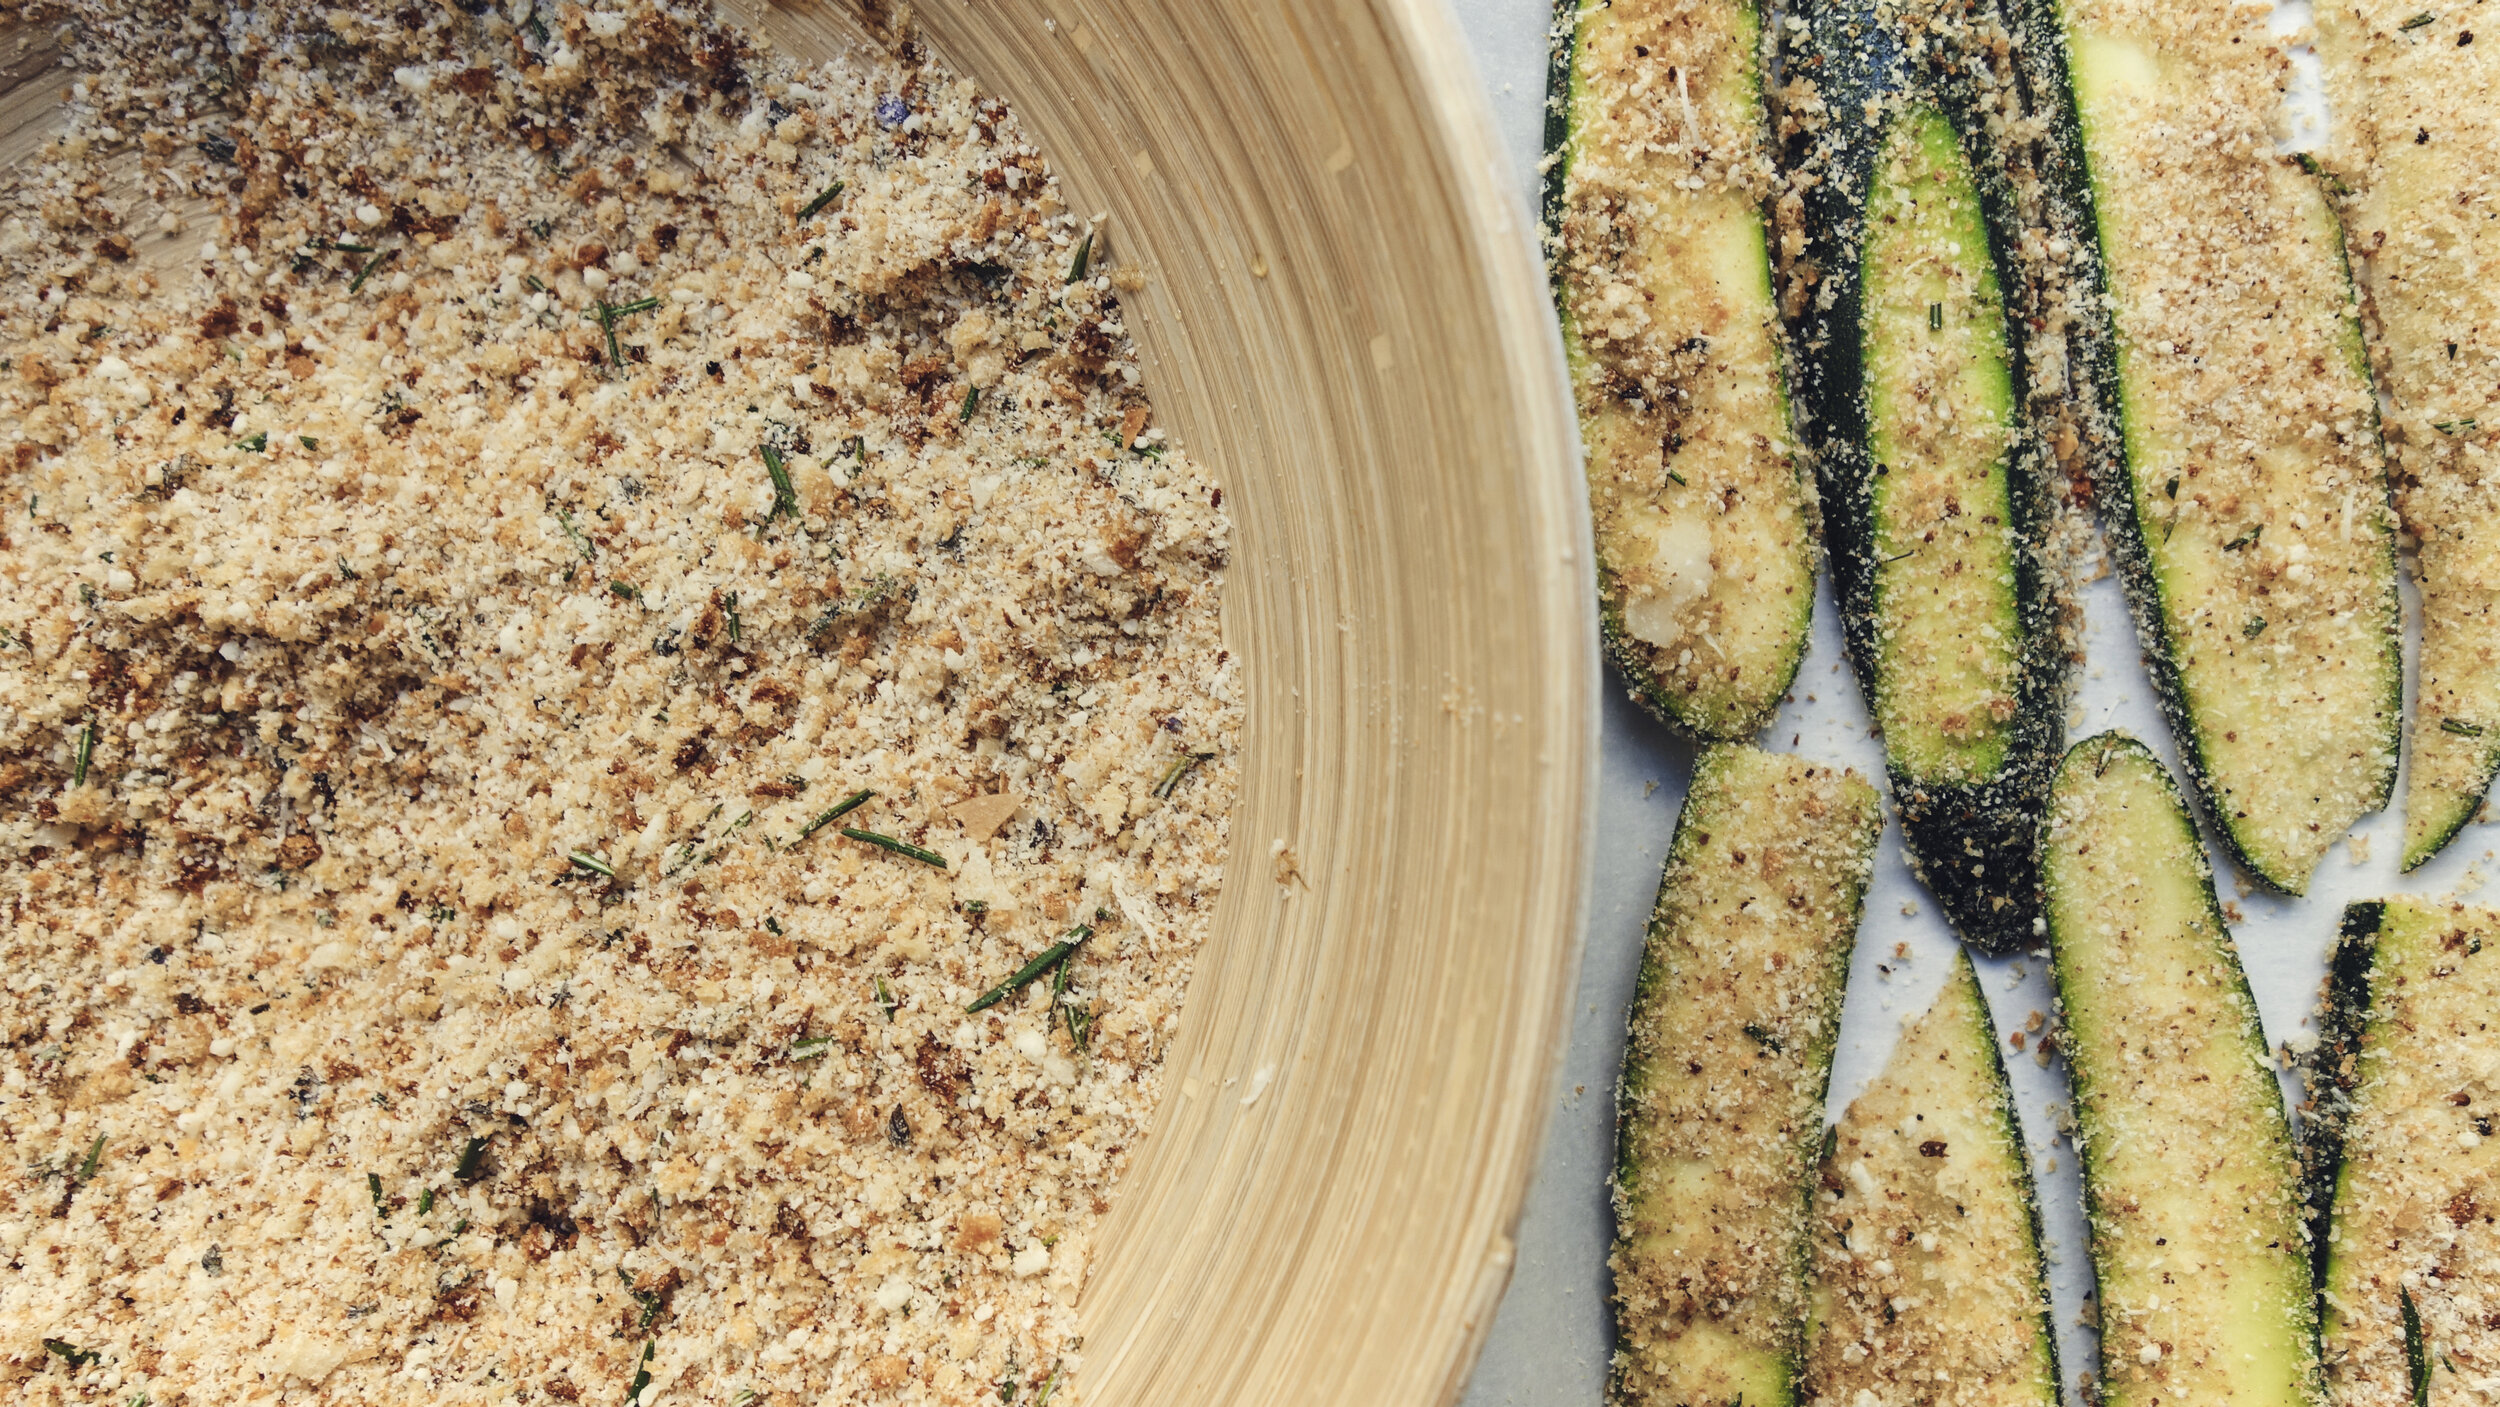
I opted to purée a small portion of the greens with an immersion blender with additional olive oil to give the sauce a bit of a creamier texture and also finish the dish with a bit of grated cheese although these are not necessary or typical steps. Also, a cube of good quality butter at the end can be a great addition although southern Italian purists will frown upon this as well. Sometimes a toasted breadcrumb will be sprinkled on top for an extra bit of crunch.
RECIPE: Pasta with Turnip Greens — Orecchiette con Cima di Rapa
Serves 5
Ingredients:
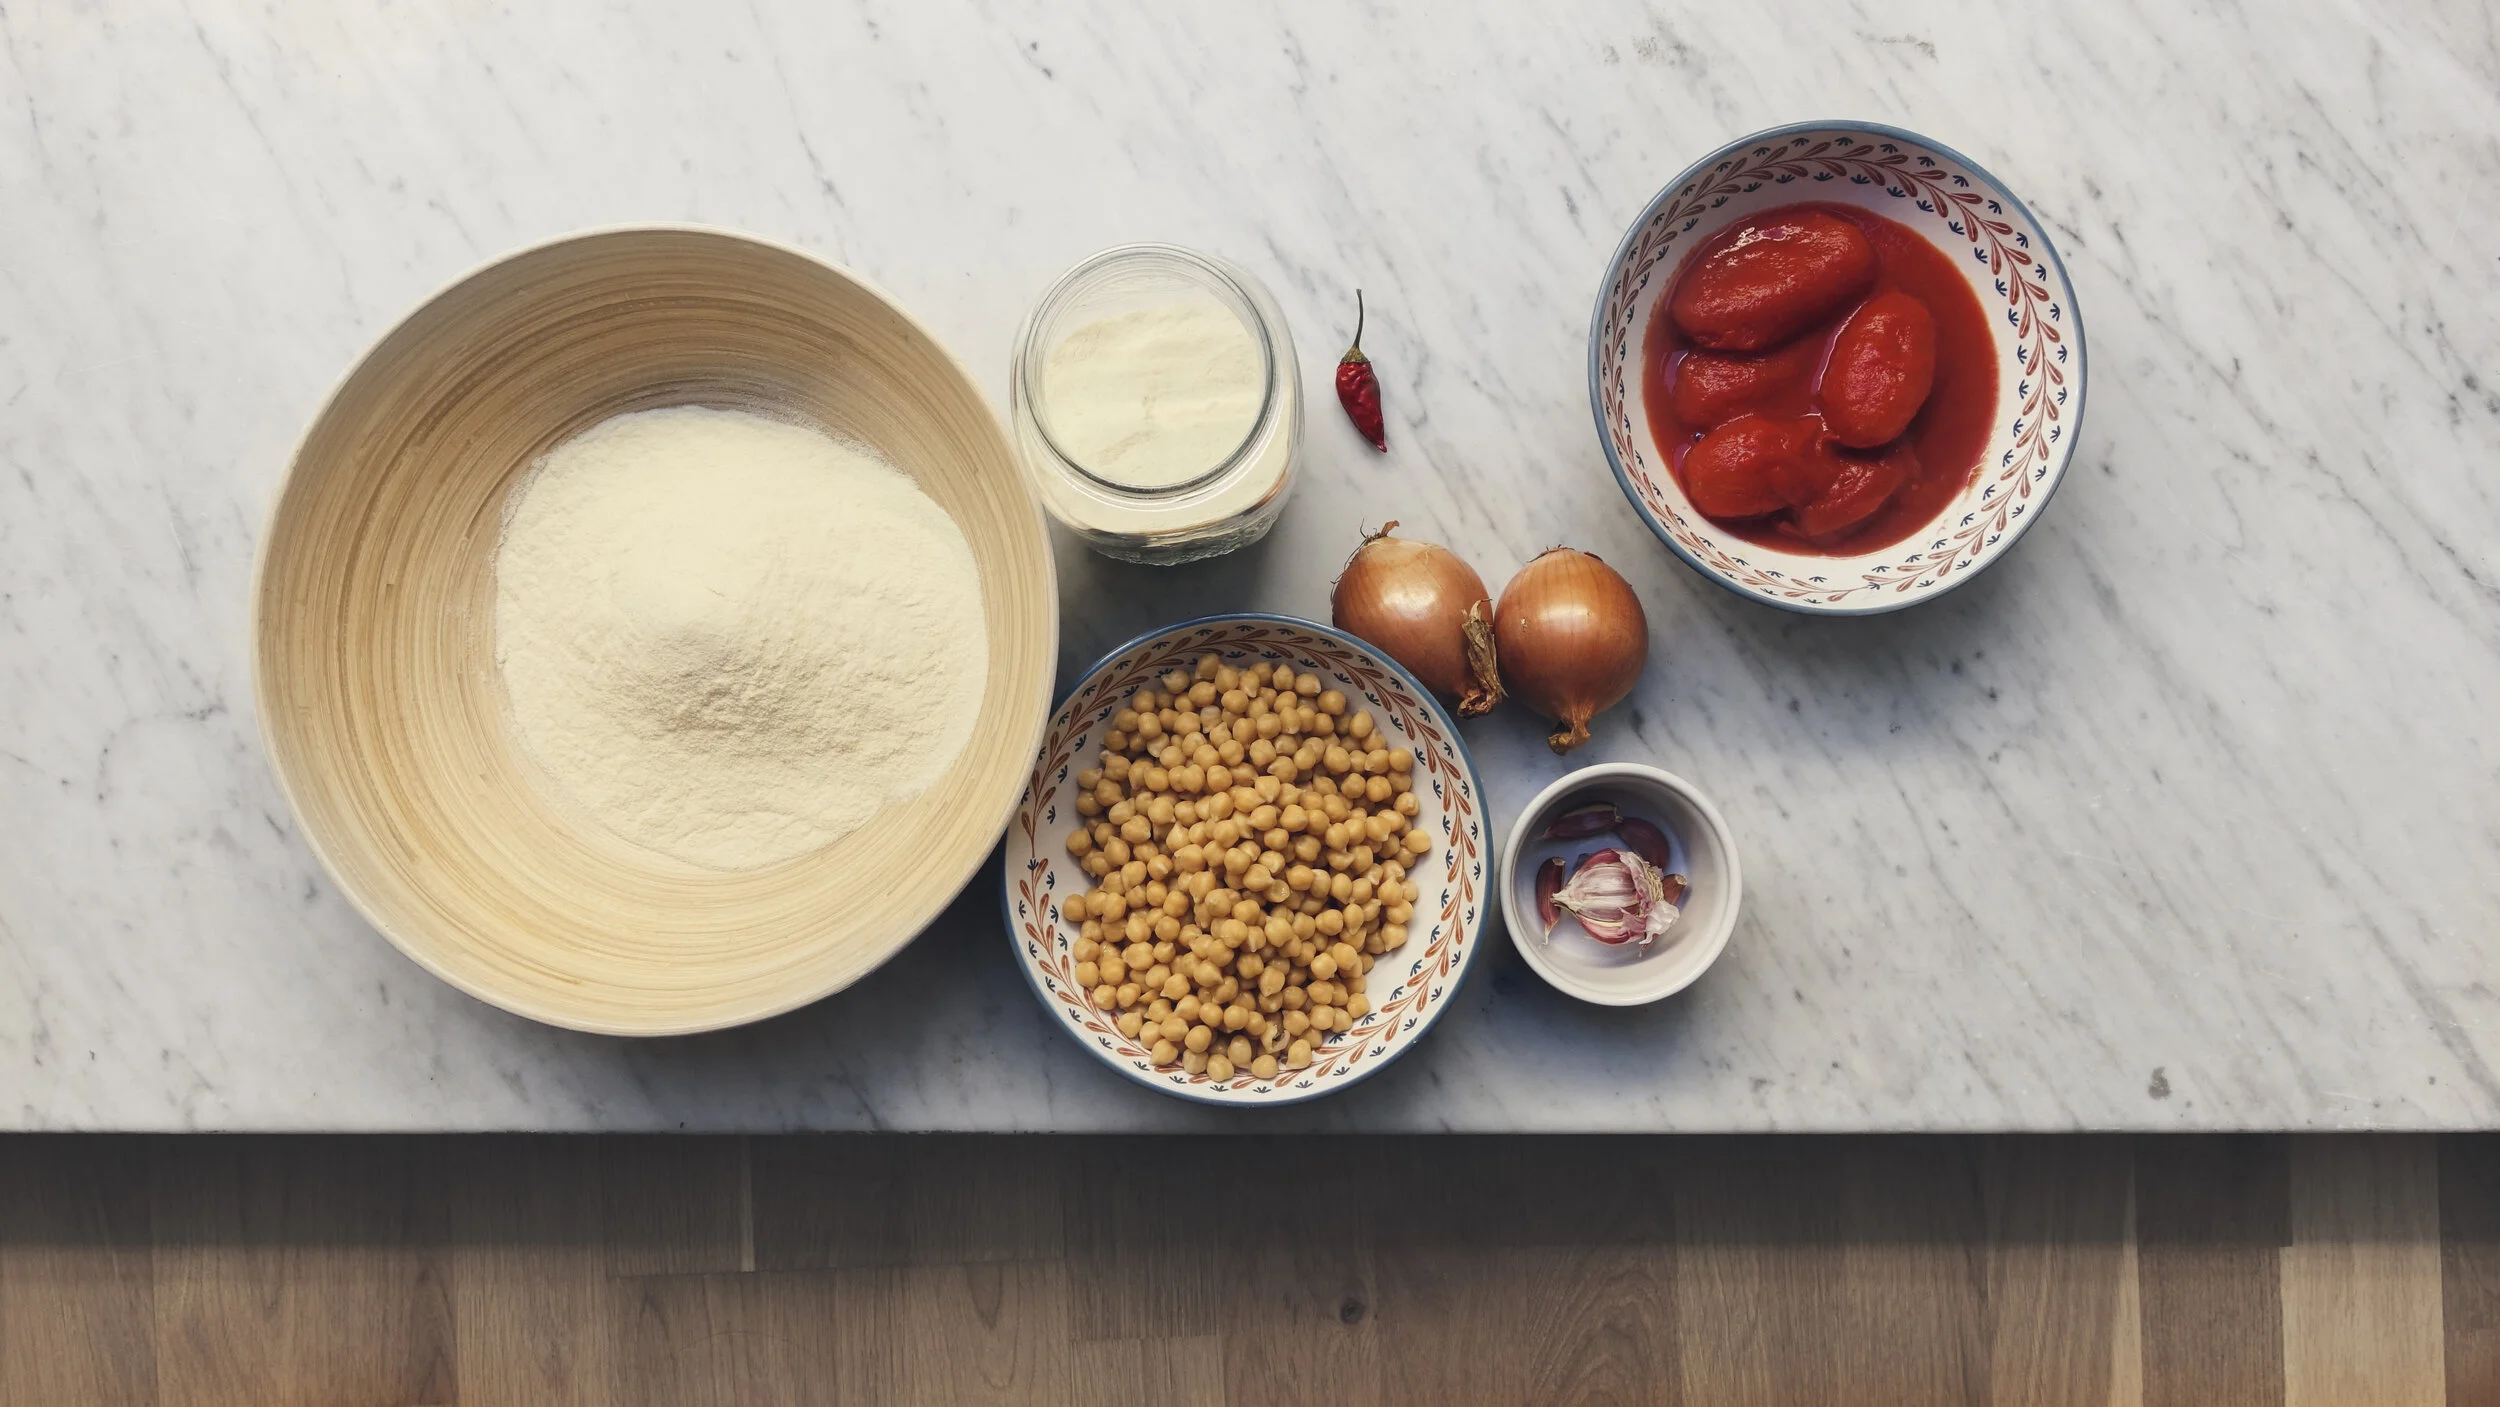
500g dry or fresh orecchiette pasta
3 bunches of cima di rapa or broccoli rabe (about 6 c. of greens), washed and chopped
2 oil-preserved anchovy fillets
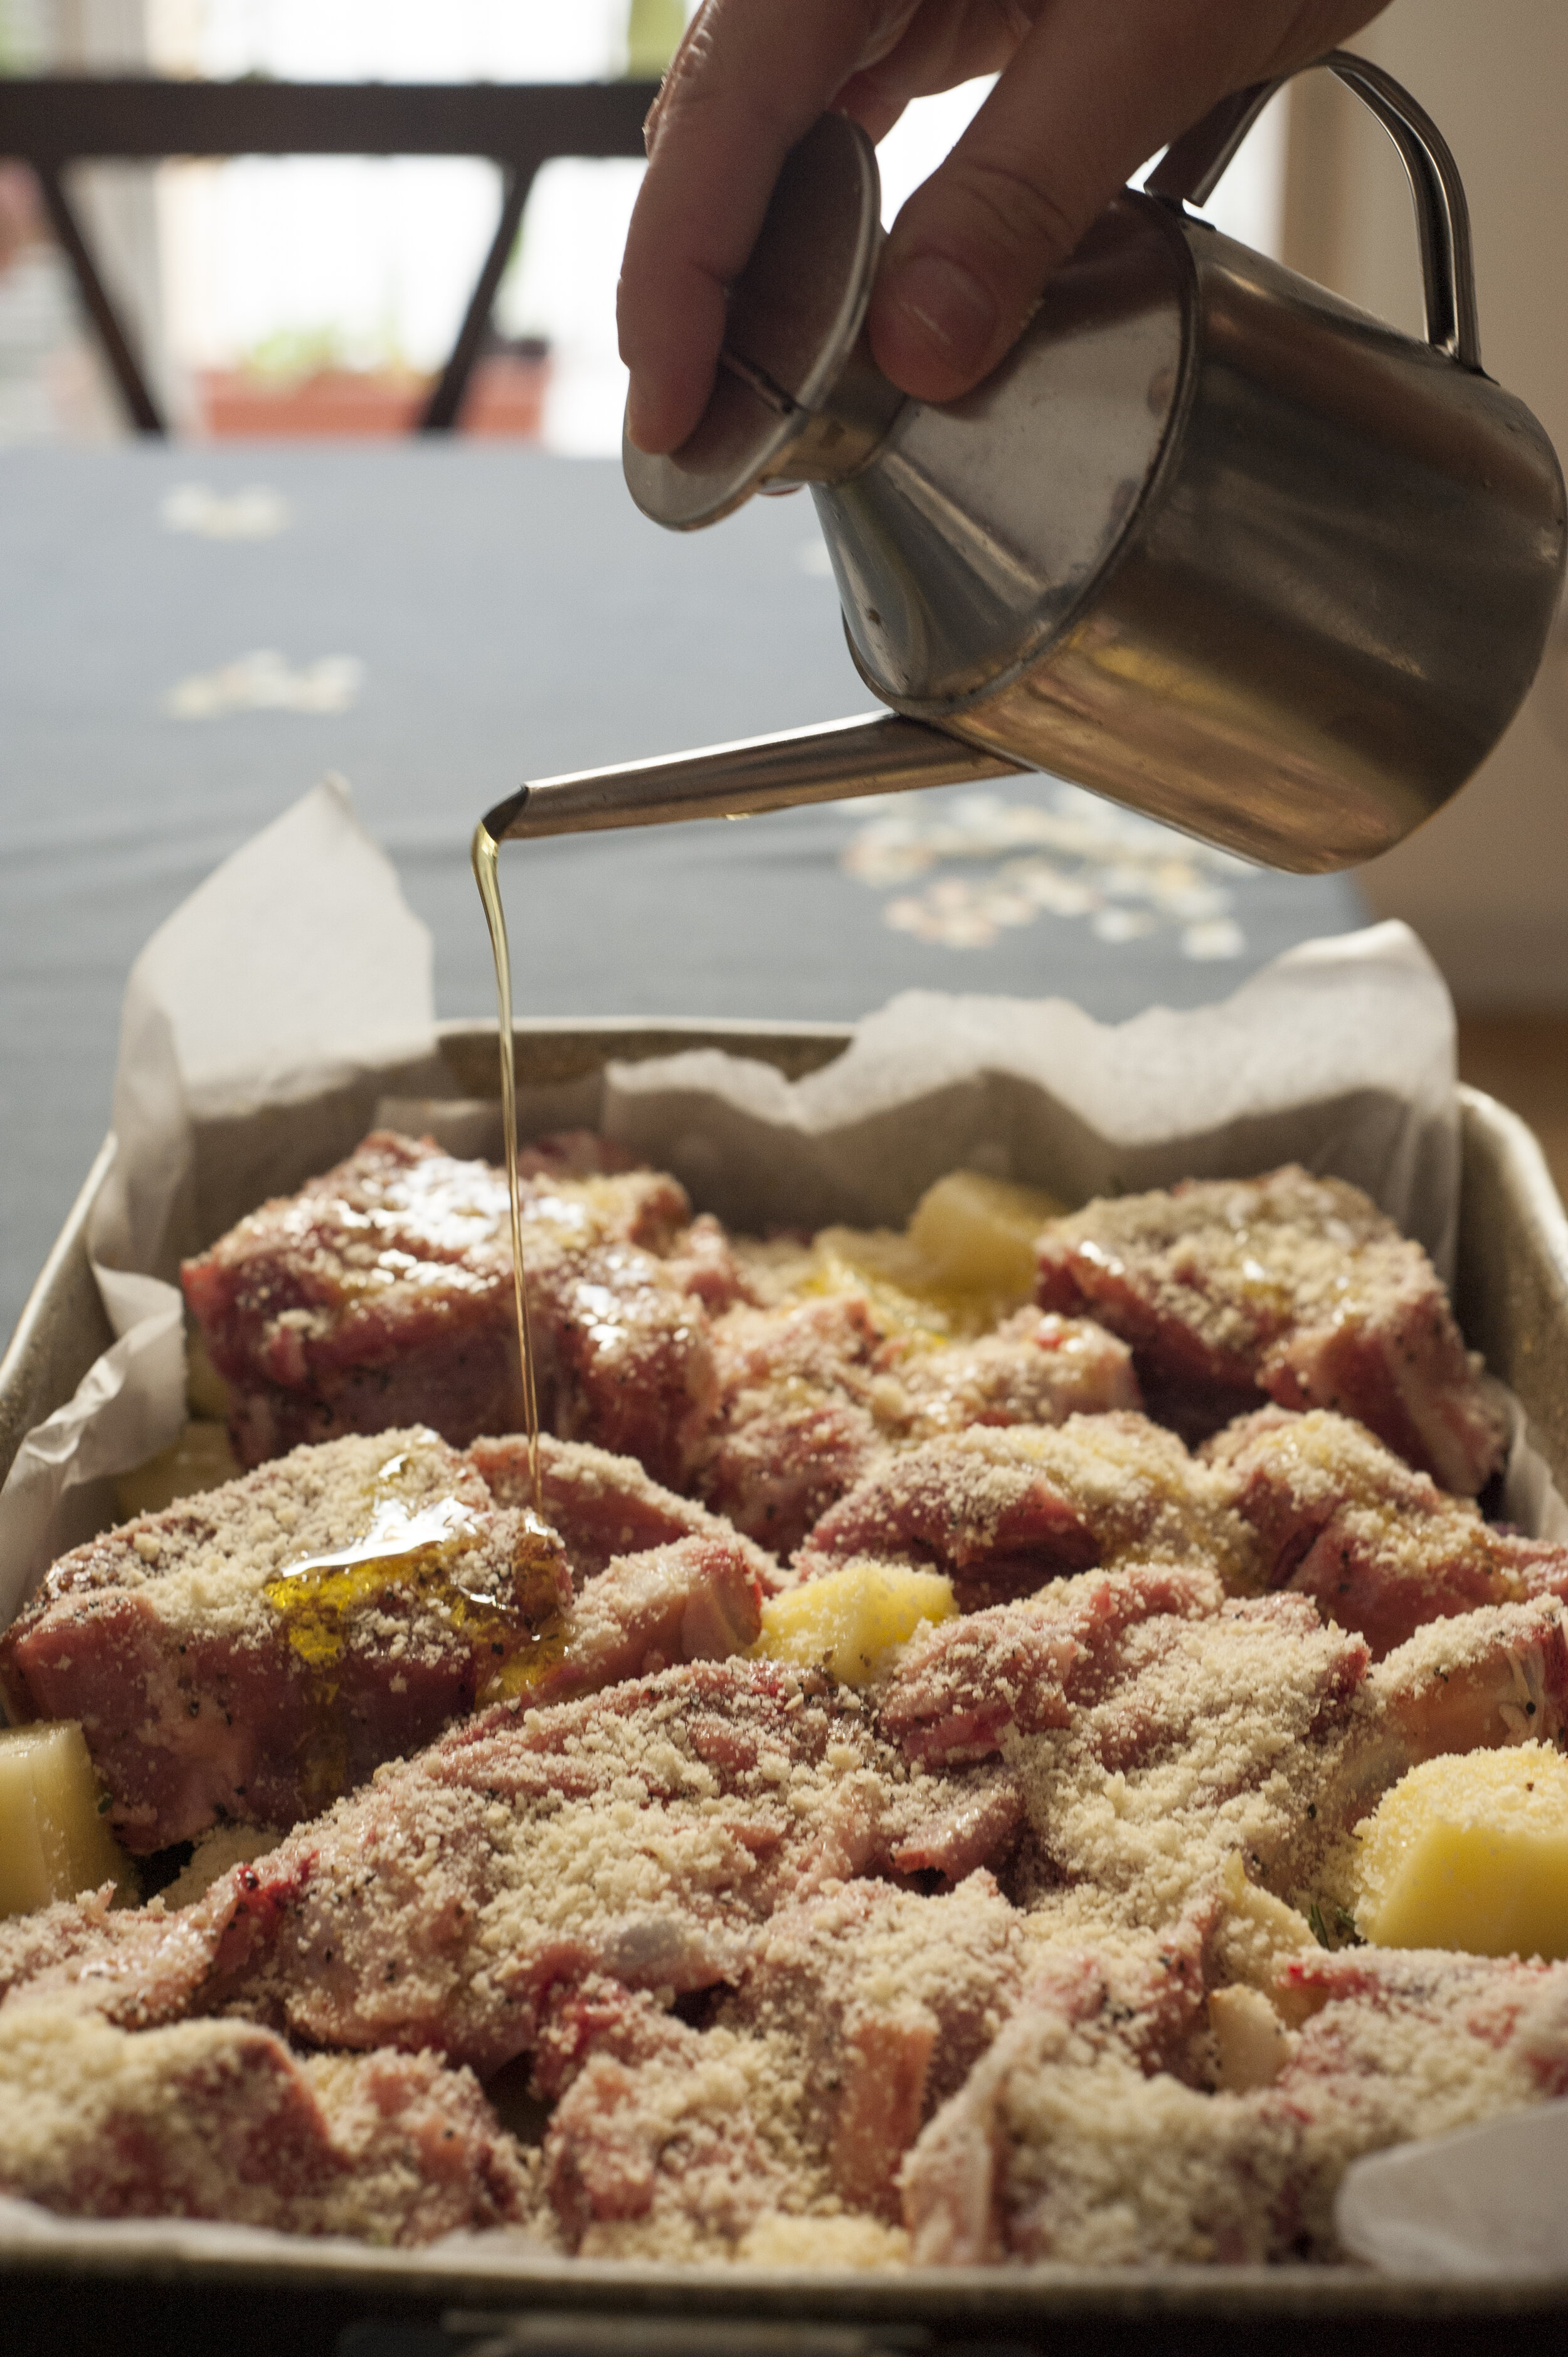
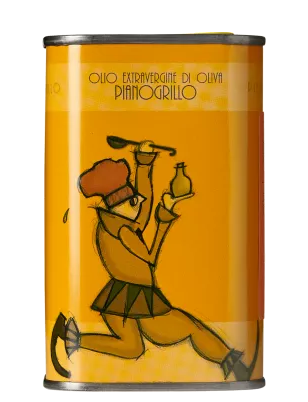
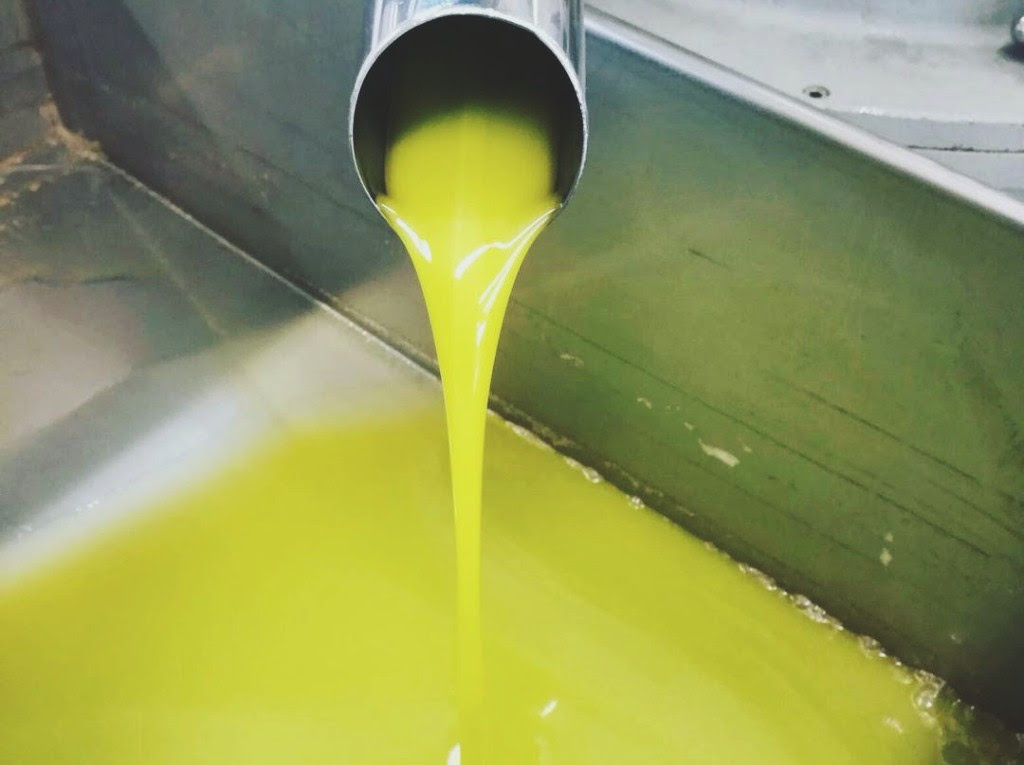
high-quality extra virgin olive oil
1/2 c. grated pecorino cheese
sea salt
black pepper
optional peperoncino dried chili pepper, to taste
Handmade pasta:
4c. durum wheat semola flour
1c. warm water
Process:
Handmade orecchiette:
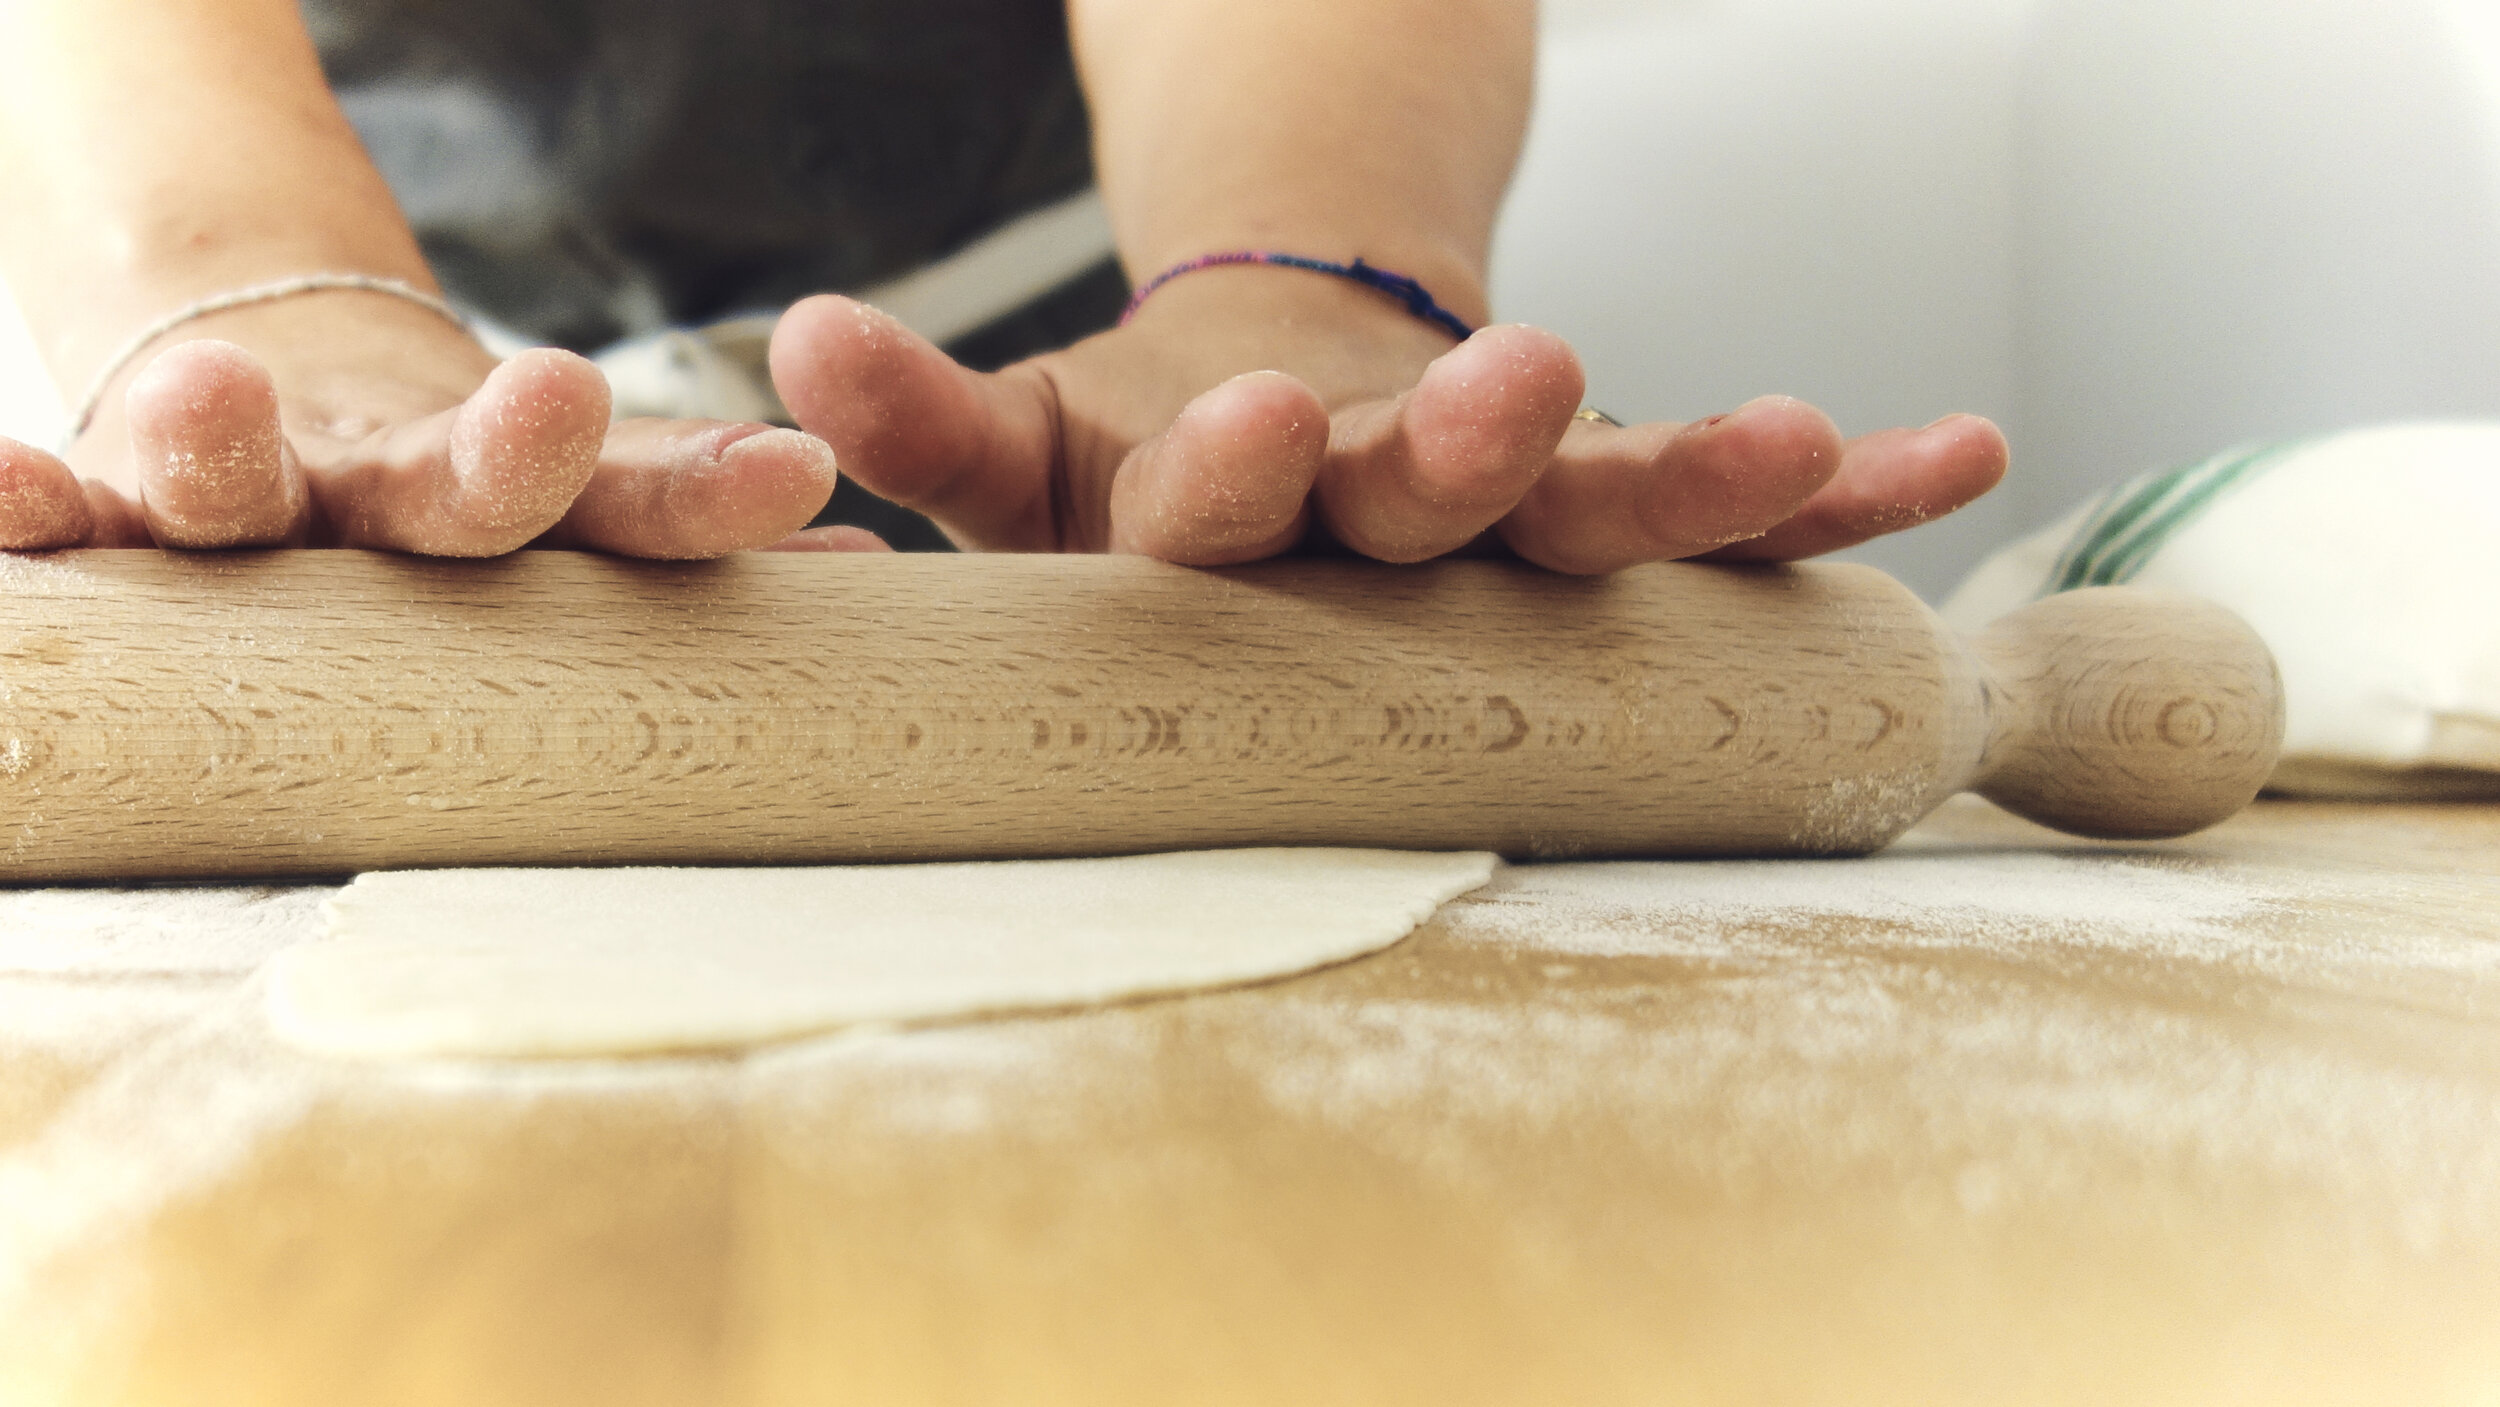
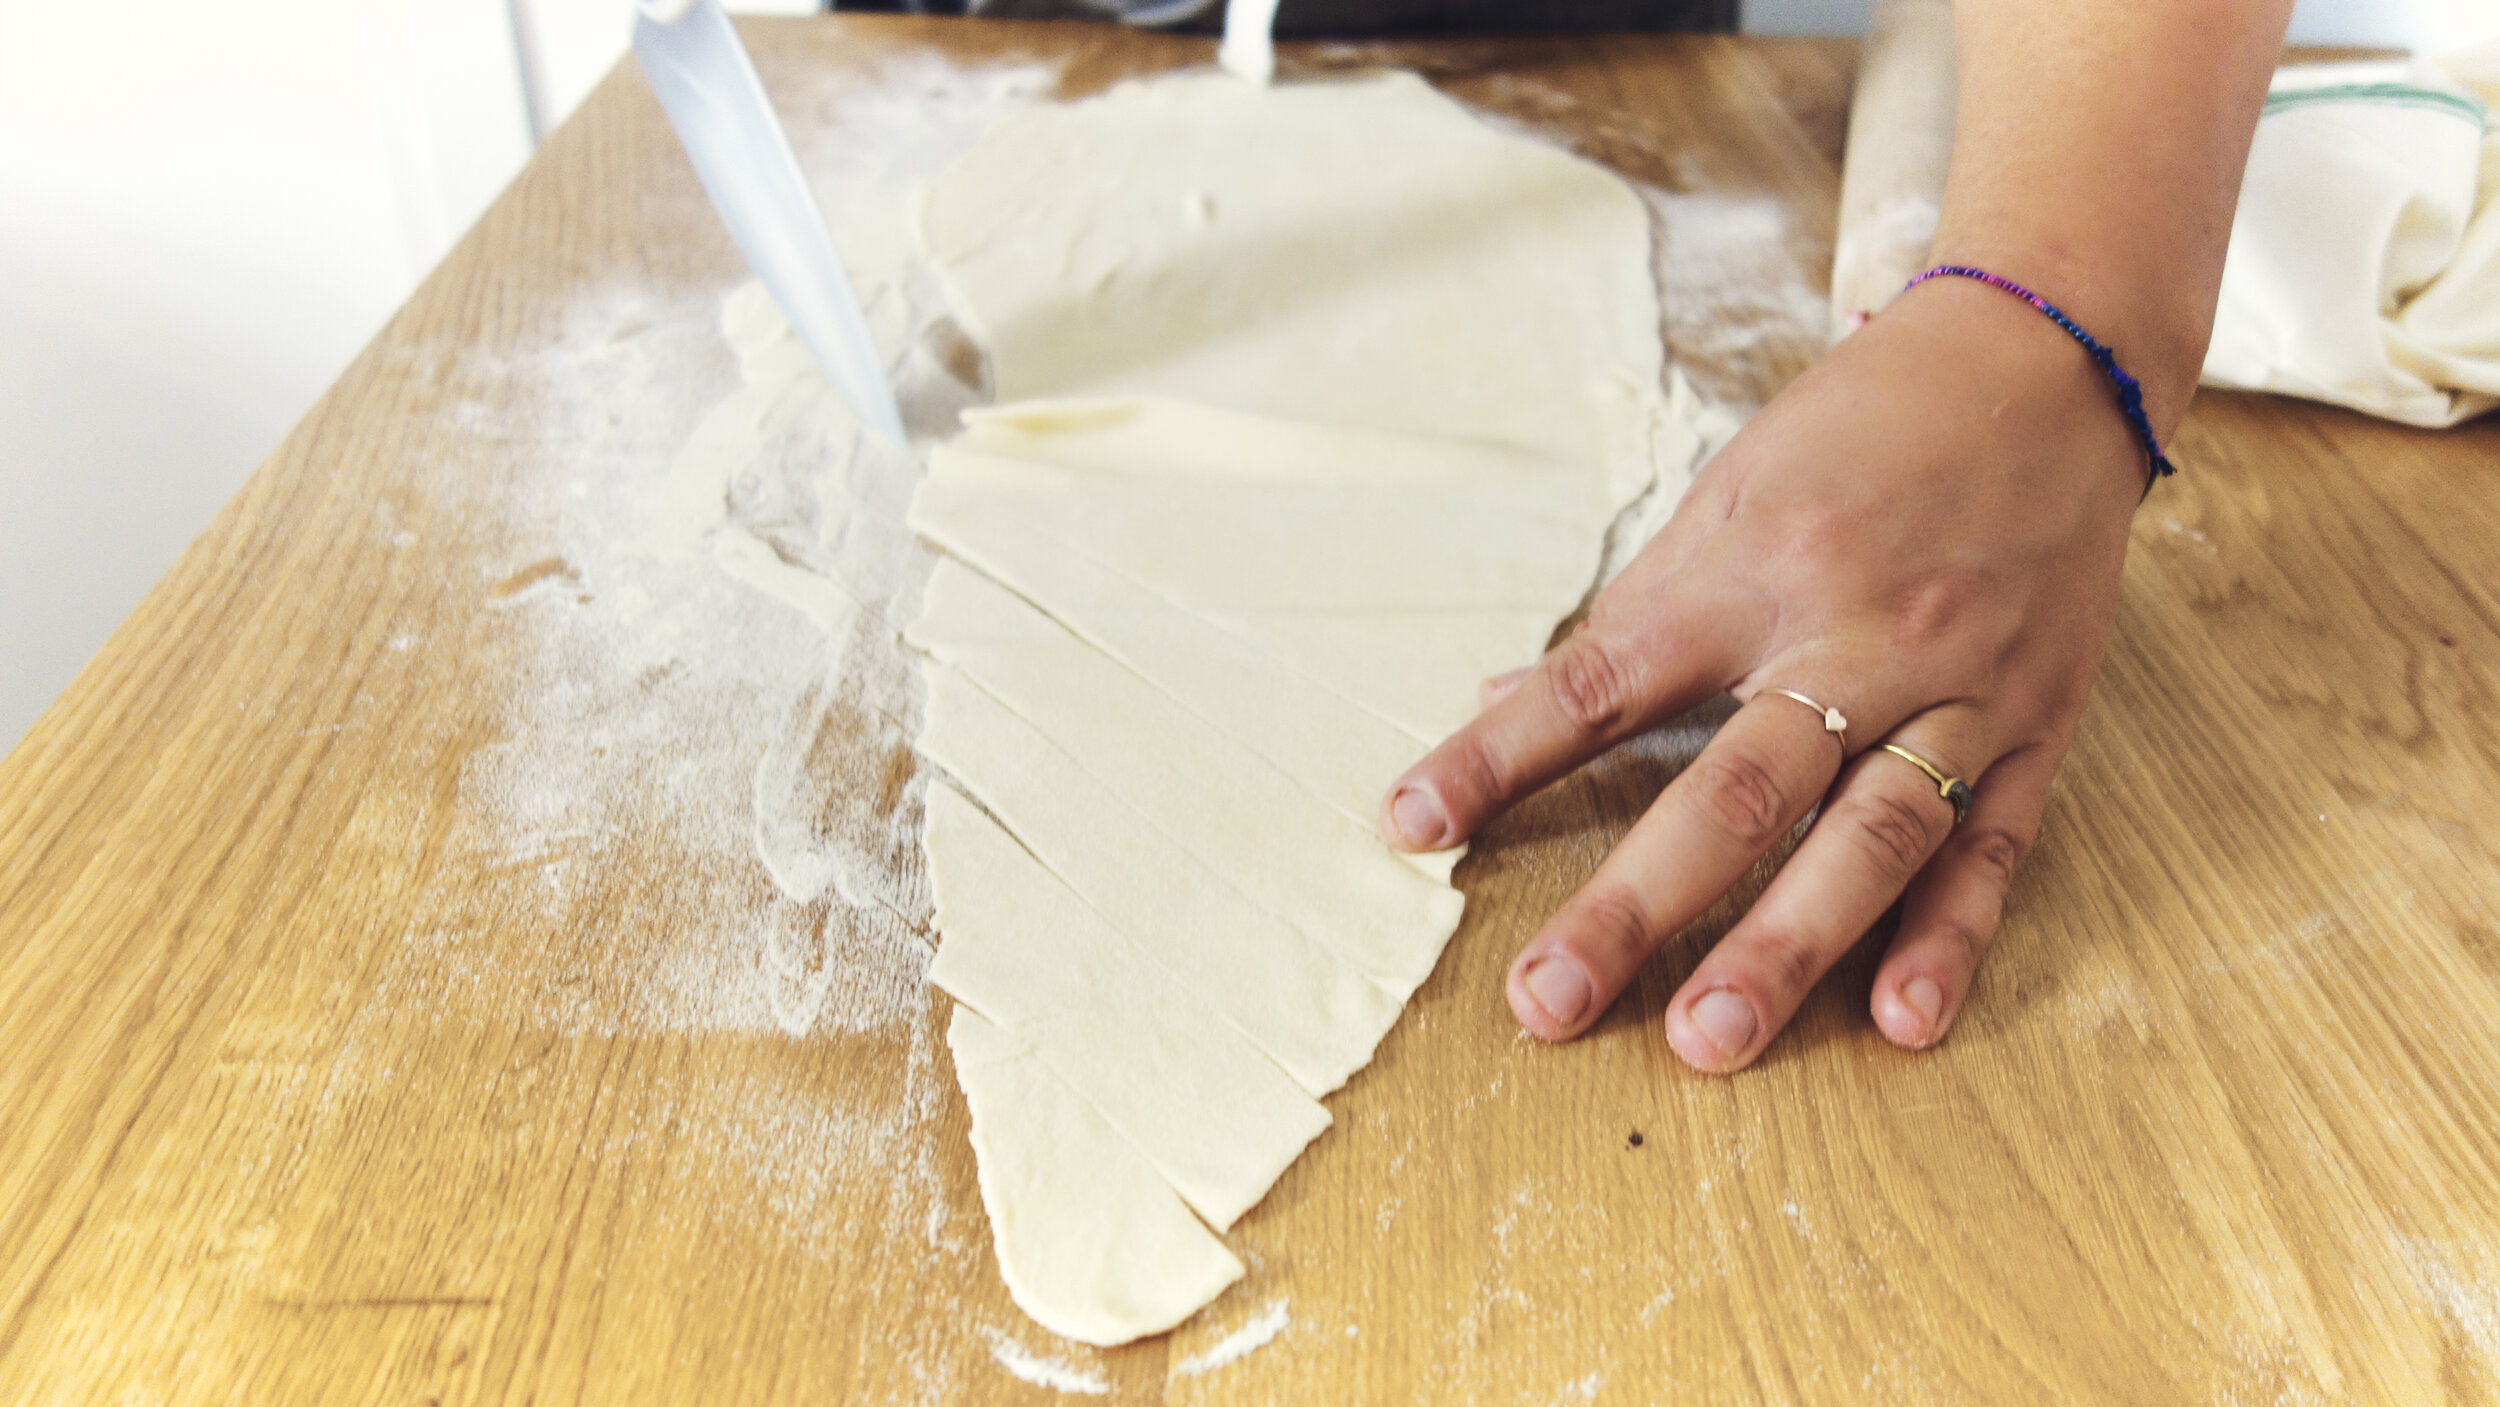
Place the flour directly on a flat surface or in a large mixing bowl. Make a well in the center and add about half of the warm water (as hot as you can handle) to begin. With a fork or your fingertips, begin to mix the water into the edges of the flour without breaking the outer wall of your well. Gradually incorporate the flour into the center well until all of it has been added. If you need to add more water, just add a little bit at a time. The strong dough should start to come together into a mass but not be sticky at all. This pasta recipe will require some kneading so do a little light stretching and get to work. Keep kneading until you have a firm dough that has only a bit of elasticity. It will be much tougher than a Northern Italian-style dough that is made with eggs. Wrap in plastic wrap and rest for 20 minutes to one hour.

Cut the pasta dough ball into quarters then roll out each piece into a round log. Using a butter knife, slice the pasta into 1/2-inch coins, like you would do with gnocchi. For each piece, hold your knife firmly and drag the rough end of the blade over each piece to stretch it out into an oval. The torn ridges that appear on the inside will get flipped over your thumb to the outside of your “little ear” shaped cup. These are the flavor-savors that will help orecchiette pasta pick up the sauce. Lay the orecchiette in a single layer on a kitchen towel lined tray and let them dry for 45 minutes to 1 hour.


Bring a large pot of heavily salted water up to a boil for the cima di rapa. We’ll be using the same pot to cook the greens and then the pasta. If you let it boil down for too long between batches, add additional water and bring it back up to a boil for the pasta. If the water gets too low, it will become overly salty, so it’s best to work quickly or make sure you fill it back up with additional unsalted water before cooking the pasta.


Blanch the greens in the water for a few minutes until they become a bright green color and the stem parts are tender. Strain the greens out of the water with a kitchen spider or slotted spoon but do not discard the water. Place the greens into a warmed sauté pan with two tablespoons of extra virgin olive oil over medium heat. Toss lightly and check the seasoning and add some cracked black pepper and optional peperoncino hot chili flakes. Add the oil-preserved anchovies (or skip this step) and let them melt into the oil and cook with the greens. At this point, if you want to puree any of the greens, this will help make a saucier dish but as noted above, southern Italian purists will certainly not be doing this step. If using dry pasta, turn off the heat under the greens while the pasta cooks since it will take much longer than a freshly made pasta.
In the pot of boiling water, carefully add all of orecchiette at once. Give it a very light stir and let it boil until al dente. Fresh pasta will only take a few minutes to cook while a dry pasta can take anywhere from 6 to 15 minutes. Check the package first, and subtract one minute for ideal cooking. Check it with a sample taste and cook a bit longer if necessary. The general Italian rule for cooking pasta is that you never throw away all of the water by dumping the pot into a colander over the sink (unless there is a bowl underneath to catch some of the run-off). Always save a little bit of the cooking water just in case you need to add it back into the sauce. The starches released from the pasta while cooking can help thicken up your sauce.

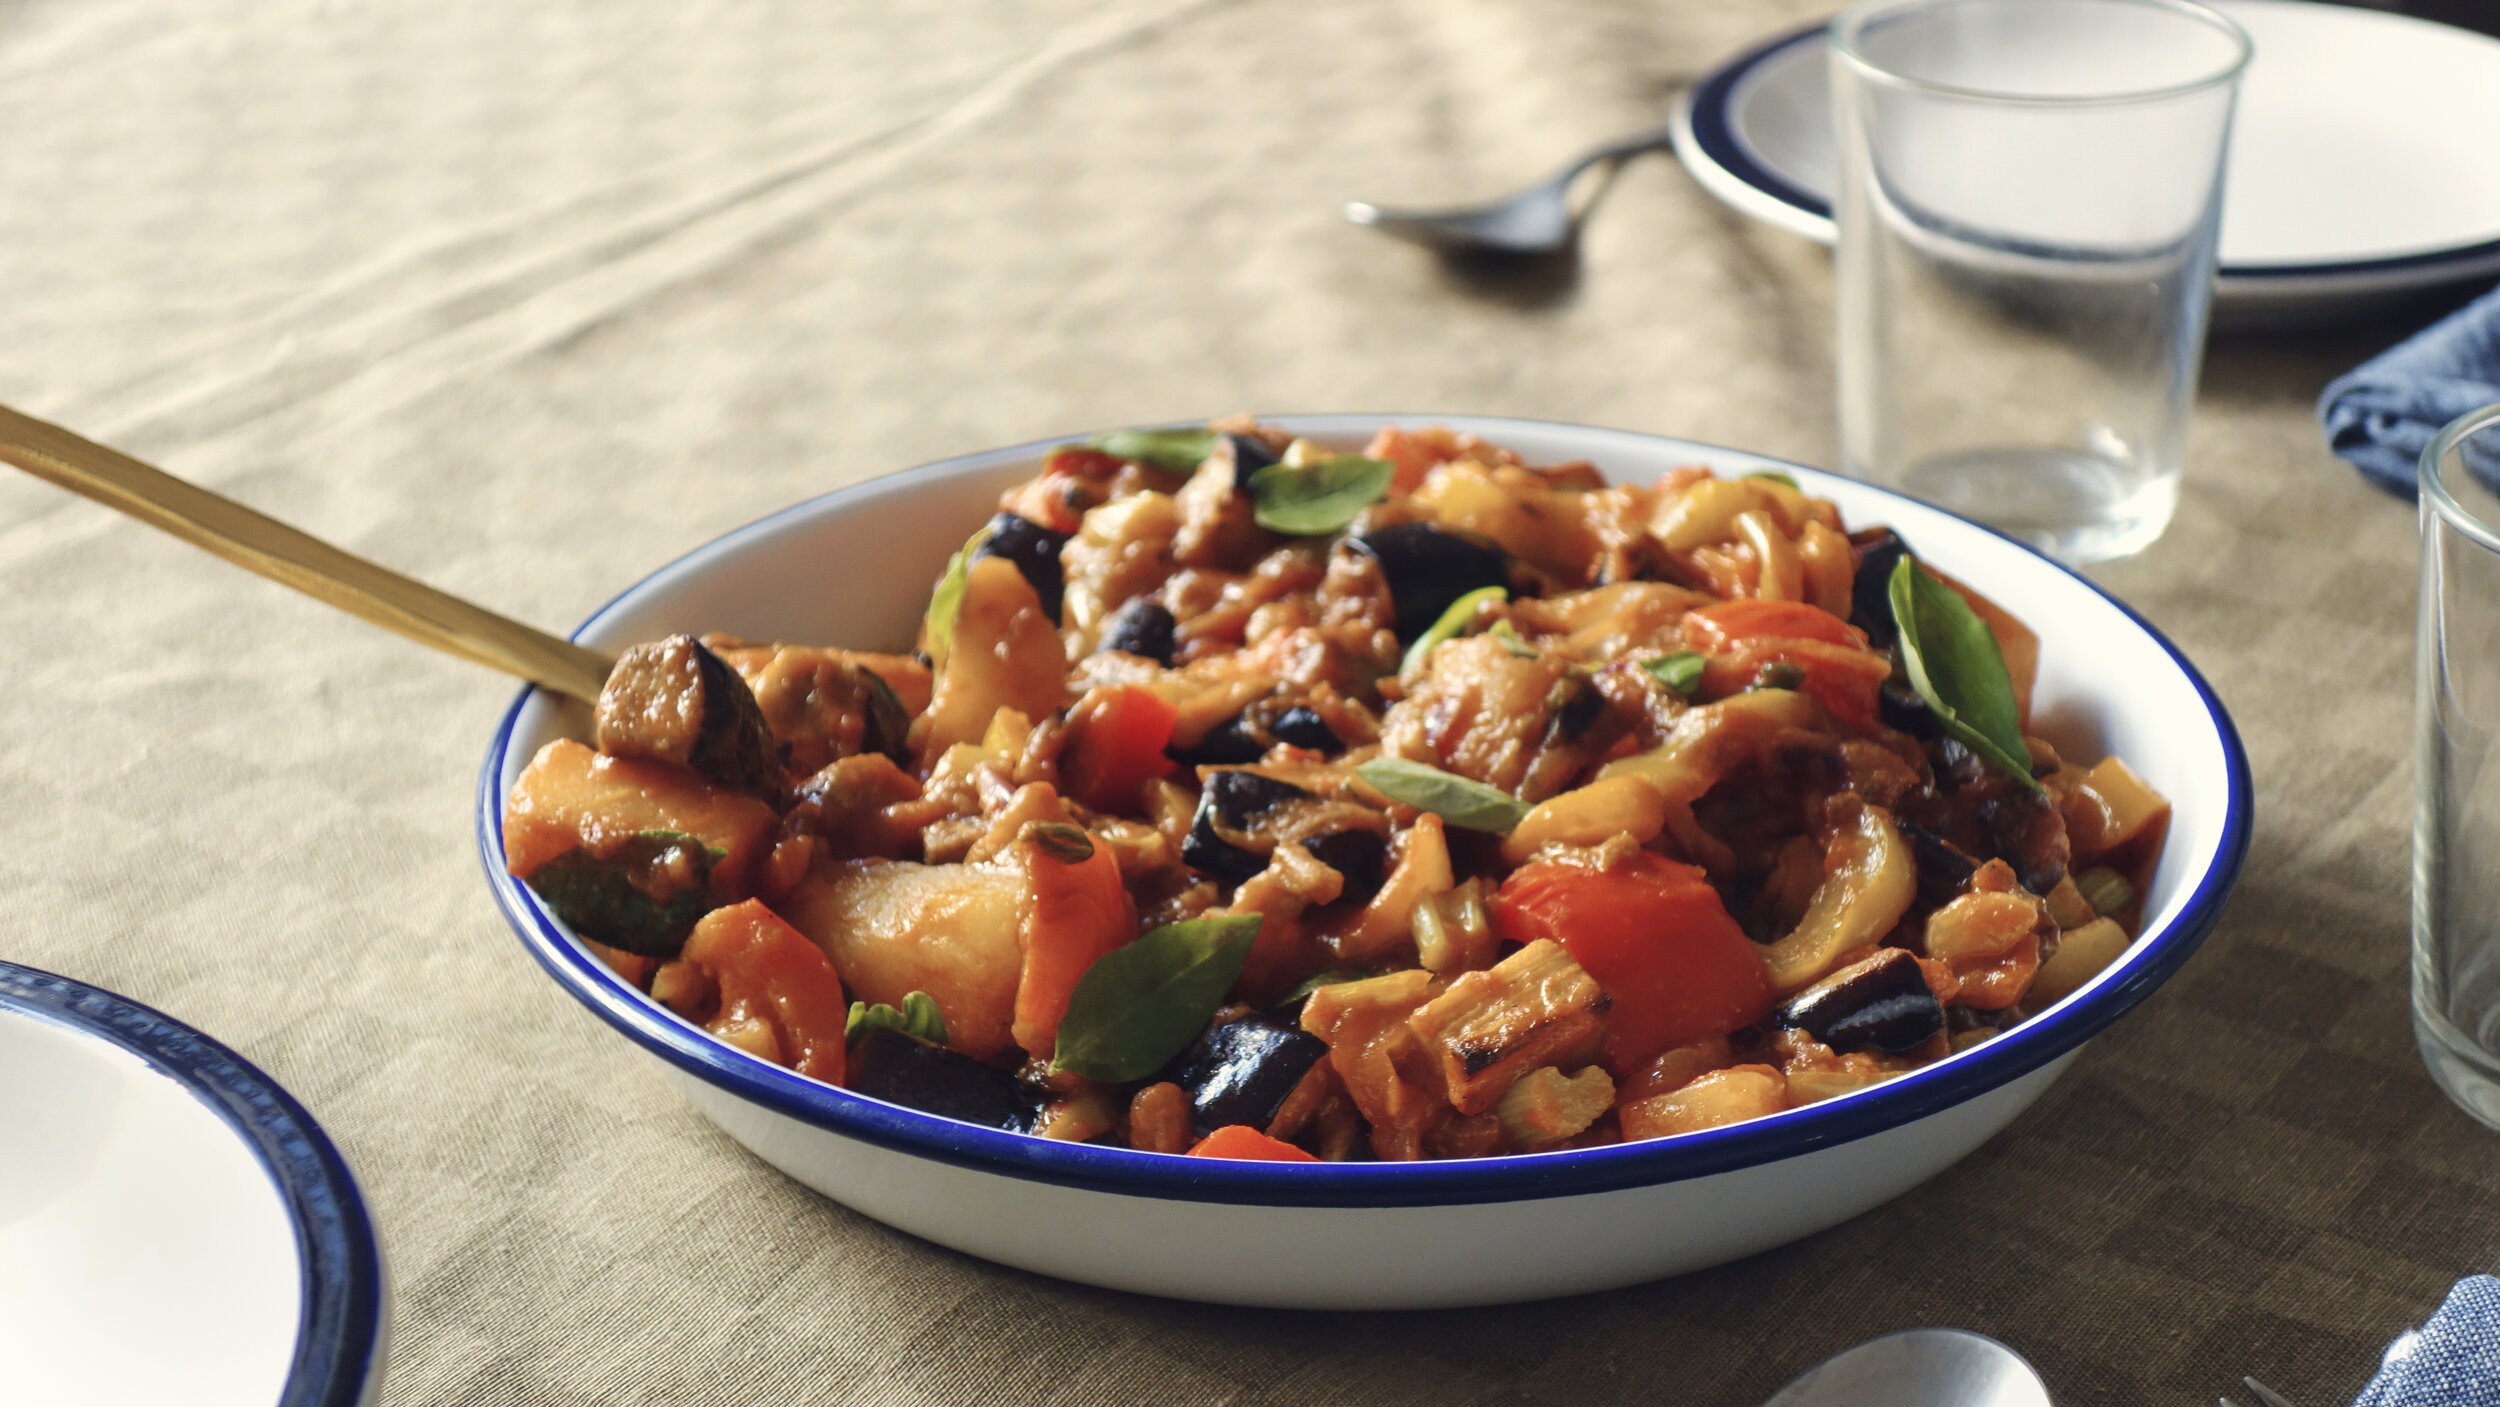
Place the strained orecchiette into the sauce pan with the greens. Toss to coat evenly and add additional extra virgin olive oil and a splash of cooking water to finish the dish. Serve immediately and top with a bit of grated cheese. Pecorino, parmigiano or can work well with this dish, but be careful with your seasoning because the cheese will add another layer of saltiness. Buon Appetito!

About the Chef:
Linda Sarris is a food/wine travel consultant and private chef based in Palermo, Sicily. From her sun-lit kitchen studio above the 1,000 year-old Ballarò food market, Linda works as a freelance writer, social media manager, and culinary communications consultant while still traveling regularly for private chef work with clients in the fashion and music industries. Under her brand, @thecheekychef, she is self-publishing a Sicilian food and wine ‘zine and curates a series of Mediterranean culinary/lifestyle retreats and travel experiences. Her first book will be published in 2022 with Hachette Book Group.
Read the original recipe on MHz Choice network’s website. Photos by Pietro Motisi ©2021 MHz Networks and Linda Sarris. All rights reserved. Intended for personal use only. Any unauthorized duplication, distribution or reproduction punishable by law.